Monday 28 February 2011

Proper Pizza

Having searched through the cupboard in readiness for a baking session this afternoon, we came across a packet of Isabel's 4 Pizza Base Mix... it told us that all that was required to make "4 delicious thin crust Italian style pizza bases" was the packet contents, 200ml cold water, 3 Tbsp olive oil and one large egg... all of which we had. So a plan was formulated and my son decided he wanted a "proper" pizza for tea. I was instructed to make the topping and he gathered together the required equipment and ingredients.


To make the topping, I sliced two small onions and fried them in a small amount of rapeseed oil until they were soft. To this was added a big dollop (about 350g) passata and the two were left to simmer and reduce over a low heat whilst the dough making began.


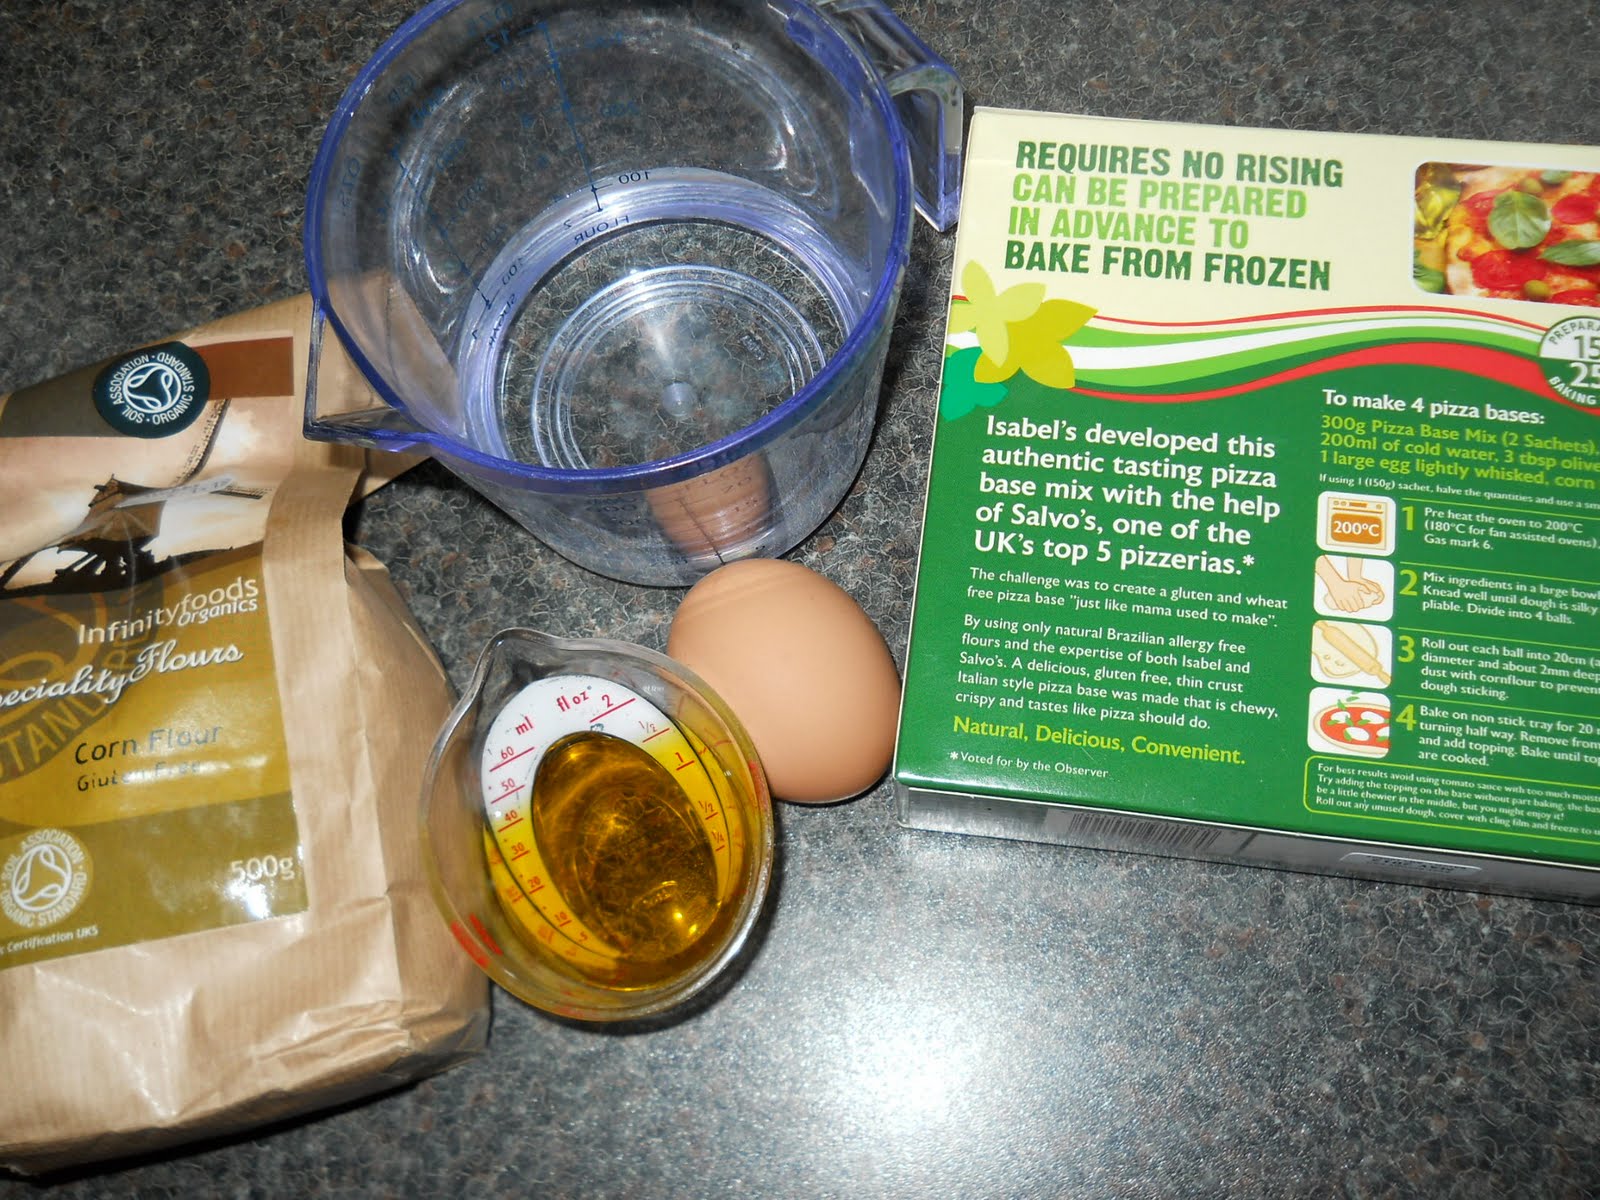
Having gathered all the required ingredients together, the dough making got underway... at this point my trusty sous chef decided he was not going to get his hands in the mix (under the guise of saving them for photos!) So, I was given the task of kneading the dough after he'd made a start on the mixing...


Once the dough was ready, it was spread out onto a non-stick baking sheet and rolled into a pirate island shape... this was then baked in the oven at 180C for 20 minutes, it was turned over half way through (per packet instructions), removed from the oven and the tomato and onion topping was added...


as was some grated cheese.

This was the result after another 10 minutes in the oven.


It was declared to be a perfect pizza and, sadly, we have no way of knowing how well it tastes when cold as it was eaten as soon as it was served up!


We made two other, smaller, bases which have been frozen for future use. If they work as well as the large one did then they won't last long, that's for sure.


Thursday 17 February 2011

TLC Soup

This recipe is one that I have known of for years. It may be vegan, gluten free, dairy free and sugar free but it is still packed full of flavour!

To make this store cupboard standby, you will need:-


1 tbsp oil (I use cold pressed, locally grown, rapeseed oil)

1 onion - peeled and diced
1 litre tomato juice (or passatta + water made up to 1 litre)

4oz split red lentils
1 tsp ground cumin


Start by heating the oil in a large, heavy based pan. To this add the diced onions and sweat them on a moderate heat until they are starting to turn translucent. At this point, add the lentils and cumin and heat the mix through for a couple of minutes, stirring all the time. A wooden spatula works well as it stops any stray lentils sticking to the pan.


Once the lentil and onion mix has been thoroughly combined and warmed through, add the tomato juice.
Then, bring to the boil, cover and simmer for 25-30 minutes.We take the basic ingredients away with us on holiday for an easy, filling meal option.... perfect for the holidaying in the UK summer!

Store in the fridge. Or, as it freezes well, I use freezer bags to store it in individual servings
.


It's a family tradition with us to eat this with chunks of mature cheddar and a drink of orange juice. The cheese tastes good and the juice contains Vitamin C which allows the nutrients to be absorbed more readily by the body (or so our family story goes!)


Have a go and see what you think... it's the perfect lunch for a misty, moist and chilly day!

Monday 14 February 2011

Plum Streusel Cake

Before we went onto a Gluten Free regime, five years ago now, the following recipe was a standby for all occasions. It's from the Sainsbury's website and can be found here
 
Recently, we have tried making it with Dove's
Farm Gluten Free Flour and it's been declared a great success once more!

As the weekend was a bit of a wash out for us, Sunday afternoon became a baking time and plum streusel was one of the cakes we decided to bake. So, a 20cm/8"spring form baking tin was lined with a greaseproof cake case and the oven was set to heat to 180ºC (fan oven).


Next we gathered the ingredients as follows:-


For the base
  • 125g caster sugar
  • 175g butter, softened
  • 2 medium size eggs
  • 125g self raising flour, sifted (we use Dove's Farm Gluten Free SR Flour)
  • ½ teaspoon vanilla extract
  • 680g punnet plums, halved and stoned

For the topping

  • 125g plain flour, sieved (again, we use Dove's Farm Gluten Free Plain Flour)
  • 25g ground almonds
  • 50g demerara sugar
  • 25g toasted flaked almonds
  1. Having softened the butter, 125g of butter and the sugar was creamed into the mix until it was light and fluffy.
  2. Next the eggs, SR flour and vanilla extract were added to the mix and beaten until well combined.
  3. The mix was then spread over the base of the cake tin and the plums were arranged, cut side down on top.
  4. The remaining ingredients (apart from the demerara sugar) were placed in a bowl and rubbed together to make a crumble topping. The demerara was then stirred into the topping mix.
  5. Next, the topping was put on top of the plums and the tin was gently shaken to spread the topping evenly.
  6. Finally, the cake was then placed in the oven to bake for 60-70 minutes (this can vary a bit, so keep checking after about an hour)

If the top is cooking too quickly, cover with a piece of greaseproof paper or foil for the remainder of the cooking time.

It was then cooled, in the tin, before being devoured with creme fraiche as a pudding.

Store in an airtight container.

We also cooked a brand-new-to-us Lemon Drizzle Cake recipe, it will feature in an upcoming blog post... when we've fully taste tested it!


UPDATE - 30 August 2011

Sous Chef J made this cake without assistance (apart from using the oven)... here's the pic he took to show how we're using the plums we picked at our pals' house yesterday.

The finished creation... like a cake with a plum crumble topping... and very, very delicious!

Friday 11 February 2011

Devilishly Delicious Slow Cooker Chicken

Having started with a recipe for biscuits, we decided a savoury offering would be a good way to finish off the week. So, as we all had a busy day in prospect, a slow cooker recipe was chosen. It's called Devilled Chicken and is a long-standing family recipe which has been used for over 20 years... we still have the original recipe card (given by a family friend)... and here it is:- Having measured out all the ingredients (using gluten free Worcestershire sauce and soy sauce) into a Pyrex dish, my sous chef combined them and the chicken joints (that had been skinned) were added, covered in the sauce and left to marinade for about an hour. (As we had 6 chicken leg joints, we doubled the above amounts)


Next, the chicken pieces were browned on all sides and, after about ten minutes, the remainder of the marinade was added to the pan and brought up to simmer. After this, the slow cooker (ours is a very basic 3.5l one from Argos) was filled with the chicken and its sauce, covered and left to cook, on high for about 5 hours.... ... and when we were ready to eat, after the sous chef had approved the cooking process and resultant aroma, this is what was served up... The verdict was that it was 10/10 and, after his taste test, this was the sous chef's plate! Give it a go and see what you think!

This dish was made with Gluten Free ingredients... and can also be cooked, in a casserole, in the oven at 350ºF/180ºC for about an hour. We prefer the slow cooker method as the meat just falls of the bones and it's a great stand by for after a busy day and can be served with rice (or jacket potatoes if you oven cook).

Monday 7 February 2011

Easy peasy Coconut biscuits (gluten free)

These biscuits are a variation on the following recipe from Waitrose.com (http://www.waitrose.com/recipe/Coconut_biscuits_with_a_raspberry_dip.aspx)

We have made them many times now, using Dove's Farm Gluten Free plain flour. They are a very 'short' biscuit and are great with a cuppa...

To make them, the following ingredients are needed:-

50g butter (cubed, at room temperature)
30g caster sugar
75g Dove's Farm plain flour (sifted)
20g desiccated coconut, plus extra for rolling


Having gathered all the ingredients together, we creamed the butter and sugar until soft. Then it's time to add the flour and coconut... at which point my sous chef admits defeat and hands the task of combining the ingredients over to me! On our first attempt we did think there seemed to be little hope of mixing all the ingredients successfully. However, persistence paid off and we were rewarded with a nice dough.
Having made these a few times now, we make double the quantity and, once combined, cut the dough in half. Then roll each piece into a rectangle about 10cm by 15cm (4"x6") before cutting small biscuits out. Our method is such that the sous chef then coats them in loose desiccated coconut and decorates them before placing on a greased, non-stick baking tray.

All that's left is to bake in the oven at 180ºC (for our fan oven) for about 10 minutes or until golden brown. Once cooked, they're cooled on the tray for 10 minutes before being transferred to a wire cooling rack.
Keep in an airtight container... if they haven't been eaten fresh from the oven!