Thursday 22 December 2011

Christmas Chocolate Stirrers

We came across some chocolate stirrers in a shop whilst out Christmas shopping and Sous Chef J wanted to make some of his own.  Luckily, we already had a silicone ice cube tray with a festive theme so we wondered if we would be able to make use of it.

It was important to source some white chocolate that was actually meant to melt.  Having looked closely at the offerings in the cake decorating aisle at the supermarket, we went for some chocolate chips from Silverspoon.  The packet mentioned melting and gave directions so that was a start, at least!

Having put the choc chips into ceramic bowls, we placed them into a container of hot (not boiling) water and used a spatula to stir them.  Miracle of miracles, they melted.

Next it was onto filling the silicone tray with the melted chocolate.  We did the white chocolate snowmen and snowflakes first.  Then moved onto the dark chocolate for the stockings, trees and bells.

We then added cake pop sticks... this was a delicate task as we needed to make sure the chocolate was firm enough to take the sticks without being too hard to get them in.

Whilst we waited for the chocolate to set fully, we sorted out which sprinkles would be used to decorate our stirrers.  Sugar stars and sugar strands from Morrisons as well as Dr Oetker chocolate stars were what Sous Chef J chose.

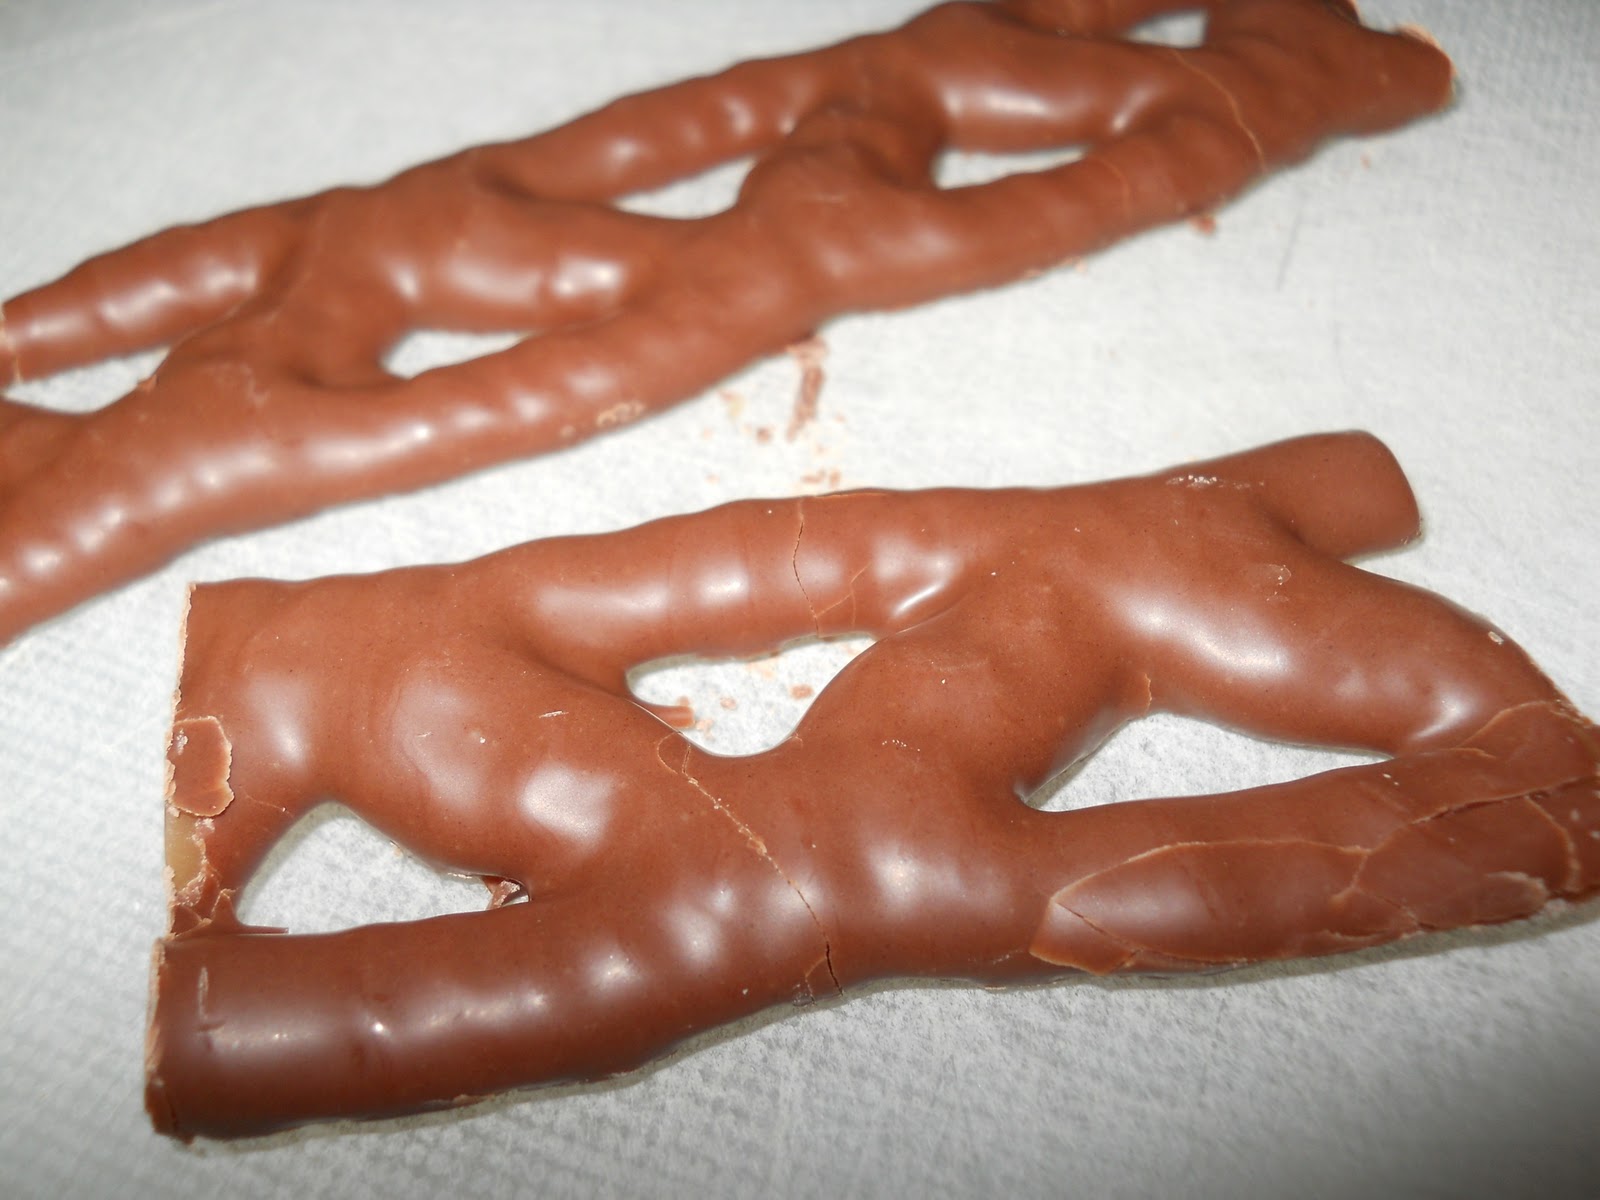
 This is what the fully cooled chocolates looked like.


We then warmed them over hot water and placed them in the decorations before being placed in paper petit four cases.  To make individual gifts for Sous Chef J's pals, the chocolate stirrers were put in a cellophane bag which was tied with Christmas themed ribbon.
 

Tuesday 20 December 2011

Rudolph Cupcakes

Feeling in festive mood we decided to make an attempt at some cupcake decorating.

To get started we made a batch of Dove's Farm victoria sponge cake (our blog about this is here) This mix was then divided between 12 bun cases and baked at 170ºC for about 15-20 minutes.   Once the cakes had cooled thoroughly, they were topped with some chocolate icing.  

Then, some antlers were prepared by cutting curly wurly bars.


Then the decorating began - we used chocolate vermicelli and other suitable cake decorations to create our Rudolphs.

We made some with our visitors and then they were given a special (recycled) pot to take their creations home with them!


It was a lovely activity that, with a little forward planning, resulted in some pretty handsome looking Rudolph cakes!

Thursday 15 December 2011

Mince Starts

Sous Chef J always likes the look of jam tarts when we're out in the supermarket.  However, we rarely buy them (even when offered in a gluten free range like Waitrose have) but we do try to make 'something' at Christmas time.  This year we thought a sort-of-mince-pie would be a fun undertaking.  Topped with a marzipan star instead of a pastry lid and, thus, the Mince Start was invented!

So, being the convenience cooks that we are, we delved into the depths of the freezer and recovered a long forgotten slab of pre-made, shop bought, gluten free pastry.  This is from G Free and, once defrosted, we were impressed with its pasrty-ness.  Having risked making our own gluten free pastry in the past, which was very crumbly, we tend to steer clear of pastry-requiring recipes.

With defrosted pastry, a jar of mincemeat, some marzipan and a 12 cup bun tray at the ready we set to work.  Sous Chef J used an old butter wrapper to grease the baking tray and I started to roll out the pastry.  Using a little cornflour, it was an easy task to get the pastry rolled to an even thickness (or thin-ness as J calls it).  Then, rounds, slightly larger than the baking tray holes, were cut from the pastry and these were placed into the tray.  Next Sous Chef J dolloped heaped teaspoons of mincemeat into the cases whilst I cut out small stars from thinly rolled marzipan.


One star was placed atop each mincemeat tart before the tray was baked in a 170ºC oven for about 20 minutes.

Having been cooked, the tarts were cooled in their tray for a few minutes before being placed on a cooling rack.

We then added a dusting of icing sugar and the Mince Start was ready to be taste tested...

Tuesday 13 December 2011

Turkey Piquant

This is yet another long-standing entry from my well-thumbed recipe book.  I know it's been around a while as said recipe book was started to give me self catering ideas when I went to University many, many moons ago!

In my student days, it was a cheap meal to make and lasted me the best part of a week.  It requires basic ingredients and is good with either a jacket potato or rice as accompaniment.  I remember I used to add frozen peas to the rice mix when at Uni in a nod towards increasing my vitamin intake.

To make a panful, serving 3 with healthy appetites, we used

450g turkey breast, diced into even sized pieces
one bunch salad onions, washed and sliced
25g butter
2 Tbsp cornflour, seasoned
2 Tbsp redcurrant jelly
1" piece of fresh ginger, peeled and finely diced (or 1 heaped tsp ground ginger)
One orange, juiced.

First of all, we added the cornflour to a bowl and seasoned generously with black pepper and a sprinkle of salt. We then coated the turkey pieces in the seasoned cornflour.  Whilst this was being done, we melted the butter over a low heat in a large saucepan and lightly cooked the sliced onions and ginger.

Next, the turkey was added to the pan and slowly browned over a medium heat.  Once it was browned, the redcurrant jelly was added, stirred through and gently allowed to melt.  Finally, the orange juice was poured into the pan.  The contents were mixed well, the pan was covered and left to simmer on  a low heat for 20-25 minutes.  (At this point you could transfer to a slow cooker to cook through and be ready later in the day)

Once the turkey was cooked through and the sauce had thickened it was served with a jacket potato.

It can also be served with wholegrain rice and peas.  This will make the amount serve 3/4 comfortably.

This keeps well in the fridge for a couple of days (ensure you reheat it thoroughly) or can be frozen (again defrost slowly and ensure it's heated through properly before serving.)

Wednesday 7 December 2011

Chocolate Yule Log

This is our favourite baking activity of the year. When we went onto a Gluten Free regime, we wondered what the "special" cake we'd have at Christmas... luckily a recipe found in a magazine years ago led to the idea of what we would use as the basis.  Thus, we have adapted a chocolate roulade recipe, which is naturally gluten free, into one for a Yule Log.  This is how we make it.

The ingredients used for the roulade are:-
175g plain chocolate
6 large eggs, separated
175g caster sugar

For the filling we use:-
50g plain chocolate
half a 435g can of chestnut puree
100g golden caster sugar
2 Tablespoons Brandy  (optional)
150ml homemade creme fraiche (or use whipped cream)

To decorate, we make an old family recipe for Chocolate Fudge Icing:-
40g soft margarine (we use pure dairy free spread)
3 Tablespoons milk (we use rice or nut milk)
200g icing sugar
25g cocoa powder

We gather and measure out all the ingredients, the fan oven is set to 160ºC, and we line a  swiss roll tin with greaseproof paper ready to take the roulade mix.  First of all, the chocolate is melted (in a glass bowl over some warm water).  Whilst this happens, we whisk the egg yolks with 175g caster sugar until it is pale and creamy.  Then the melted chocolate gets mixed in.

In a large, clean bowl the egg whites are whisked until they form stiff peaks.  A tablespoon of this is then added to the chocolate mix to loosen it a little.  Then the remainder of the egg whites are carefully folded into the chocolate mix.

The mix is poured into the lined swiss roll tin and gently levelled.  It is then baked in the oven for about 20 minutes until spongy to the touch.

When it comes out of the oven, it looks like this. It is cooled in the tin for about 5 minutes during which time, a piece of baking paper is put on the work surface and sprinkled with some sugar.  The roulade is then turned out of the tin onto the baking paper.  The baking paper used in the tin is then carefully peeled from the roulade before covering with another sheet of baking paper which is then covered with a damp tea towel.  It is then left to cool for an hour.

Leaving the roulade to cool, we move onto making the filling.  For this, we melt the chocolate over a pan of boiling water.  Half a can of chestnut puree, sugar and brandy are mixed together and the melted chocolate is added and stirred in.  This is then spread over the roulade.  Next a layer of creme fraiche is spread over.

Then it is time to roll the whole lot.  We roll the long side and use the baking paper to help the process. *

Finally, the chocolate fudge icing is made by melting the margarine and milk in a pan which was allowed to cool slightly.  The milk/margarine is then added to the sifted icing sugar and cocoa powder and mixed well.  Then, the roulade is covered in the icing.  Using a fork, the icing is decorated to resemble the texture of the bark, sprinkled with sifted icing sugar and chilled.

The roulade freezes well iced or un-iced.  We cut ours one third/two thirds and freeze a third when it's made at Christmas for having over New Year.

It is delicious and never lasts long... it's supposed to serve 10 but that depends on how thick the slices are.

* The roulade can be frozen at this stage.  Defrost thoroughly and ice before serving.