Showing posts with label supper. Show all posts

Tuesday, 16 August 2016

Summery Sausage Salad

We heard from Sainsbury's that their Taste the Difference sausages are now all gluten free and were asked if we'd like to try some.  Of course, we said YES, please!  

Having gone into store, it was easy to see the great new packaging for the TTD sausages and made a selection of the ones Sous Chef J will eat (thin ones... aka chipolatas or cocktail sausages).

As it was a sunny weekend, we decided an 'all-in-one' sausage salad dish would be a good meal to create. Pairing the sausages with some freshly cooked charlotte potatoes, a few salad onions and a homemade dressing/sauce, we thought we'd have a simple and tasty meal for eating outdoors.

The dressing was made using store cupboard standbys -

2 Tablespoons tomato ketchup
2 Tablespoons cider vinegar
1 Tablespoon grainy mustard
1 Tablespoon honey

All this was mixed together and half of the sliced salad onions were added.

The sausages were separated and added to a hot frying pan to cook through.

Adding half of the sauce to the sausages and cooking to make it sticky...
.... whilst the sausages were cooking, the charlotte potatoes were boiled.  Once cooked and drained, the potatoes were put in a bowl and the remainder of the sauce was poured over and stirred through.
Finally, the sausage and sauce mix was added to the potatoes, stirred and the remaining onions were sprinkled over.
The sausage salad was delicious!

We'll definitely be adding TTD Sausages to our shopping list... and particularly liked the "snap and keep" packaging - allowing half the sausages to be saved for another day/frozen.

DISCLOSURE - we were sent a gift card by Sainsbury's to be used for buying sausages and ingredients for this recipe.  The recipe and opinions in this post are our own.

Tuesday, 19 May 2015

Asparagus and Pancetta pastryless Tarts


This recipe was developed to make use of some of the delicious, seasonal products on sale at The Shop in The Shed.  Grown on the farm, asparagus is being picked right now (May) and, paired with bantam eggs and pancetta, makes a lovely addition to our bake - a pastryless tart.

We used -

200g natural yogurt (we used full fat)
125g shallots, sliced
6 bantam eggs
100g pancetta slices
8 spears of asparagus, washed
20g cheddar cheese, finely grated
1 Tablespoon oil
Freshly ground black pepper

These ingredients made 4 larger tarts (made in Yorkshire pudding tins) and 4 smaller, deeper tarts (made in muffin tins).

Preparing the shallots, they were peeled and thinly slicedand then fried in a tablespoon of oil (we used sunflower) over a low heat for about 15 minutes until they started to caramelise.  At this point, they were placed to one side to cool slightly until needed.

Taking the baking tins, they were lightly greased used an old butter wrapper before being lined with slices of the pancetta.


The pancetta we used was smoked and air dried.  Cutting slices to size, the tins were carefully covered (without too much overlap) to form an outer case when cooked.


Next the asparagus was washed and the lower portion (which can
be woody) was snapped off... to do this we held the towards the top and at the bottom then bent each one until the spear snapped.  You can chop the ends off if you prefer.

The spears were then cut so that they were the right length to fit diagonally across the tart, the remaining stems were chopped into small pieces.  The woody ends were not used in this recipe but can be used in soup or to make a 'pesto'.

To prepare the filling, we mixed yogurt with the bantam eggs, freshly ground black pepper and whisked to combine.
Using a dessert spoon, a small amount of the filling mix was added on top of the pancetta lining, before a little of the caramelised onion was also added.


This was then topped with some more of the filling before having the chopped asparagus stalks added, sprinkling a small amount of the grated cheese on top (being careful not to get it on the baking trays) and....

... finally the reserved asparagus spear was added to each tart.

The tarts were then placed in a 170ÂșC oven for about 20 minutes when they were checked to see if they were browning (at this point ours had risen souffle-like but, luckily, hadn't overflowed).  We left them in the oven for a further 5 minutes.

Having taken the tarts out of the oven, we allowed them to cool for about 15 minutes and then carefully removed them from the tins.
We served our tarts warm with green salad and chilli potatoes....

... or they'd be great on a picnic or as a lunch box item... no soggy bottoms to deal with!


Disclosure - we were given the asparagus, pancetta, eggs and cheese by The Shop in the Shed to develop a recipe.  This is the result and all other ingredients were our own.

Monday, 4 May 2015

Bean and Pepper Chilli


Having spotted a tweet linking to this recipe from Sainsbury's, we took a look and decided that, with a very small tweak (using ready made gluten free tortilla chips) this would be a dish we'd like to eat.

It's a speedy supper and is something that could be made with store cupboard/freezer items.

We used a fresh yellow pepper as the recipe suggests but think that Sainsbury's frozen sliced mixed peppers would also be good to use.

What was needed was a jar of Sainsbury's Taste The Difference Cherry Tomato & Chilli Pasta Sauce, a tin/carton of red kidney beans (drained), a yellow pepper (sliced), two cloves of garlic, a teaspoon of smoked paprika and water.

Having sliced the yellow pepper (though, as mentioned before, frozen peppers could be used), it was cooked for a few minutes before the smoked paprika was added and stirred through.

After another couple of minutes the two cloves of garlic were added (we used a couple of black garlic cloves as that's what we had in the cupboard).

Adding the drained kidney beans and the pasta sauce to the pan, it was time to add 300ml of water.

We discovered that, handily, the pasta jar has a capacity of 300ml to just under the shoulder... something that will be useful when we take the 'makings' of this recipe on holiday with us - as it means we won't need to find a measuring jug.

The heat was then turned up and the chilli was left to simmer for 20 minutes until it had thickened slightly.

Finally it was time to serve - Sous Chef J likes Manomasa's Chipotle & Lime Tortilla chips so we used these... adding a green salad and some grated cheese (leave out the cheese and this will be a vegan meal).  A lovely dish for a speedy meat free meal, any day of the week.

Thursday, 9 April 2015

Black Garlic and Chilli Butter


We like to get Sous Chef J to try new foods, so when we were sent a bulb of Black Garlic by Sainsbury's we started to think about how to use it in a way he'd like to eat it.  Hitting on the idea of a spicy butter to go with a beef steak, we took a closer look at the garlic.

The Black Garlic bulb is a light rust colour and its outer skin texture resembles tissue paper.  We carefully peeled away part of the outer layer of cloves.  Having taken the cloves off the bulb, some were then peeled (we found starting at the root end resulted in the 'cleanest' way to do this) and that's when the blackness of the garlic was revealed.

The cloves are soft and squidgy feeling...we were careful not to squash them but I did try one.  It reminded me of the cloves of garlic we'd all wait for when my late father used to make a slow cooked one-pot dish called "Chicken with 40 cloves of garlic".  As the name suggests, a chicken was cooked in a lidded casserole with 40 cloves of garlic (unpeeled) and the resulting melt-in-the-mouth middle of the cloves that were squeezed out to be eaten with the chicken were amazing.  The slow cooking had mellowed the garlicky taste and this Black Garlic clove has a similar, less aggressive, taste.


Gathering the very few items needed to make our Black Garlic and Chilli Butter...

4 cloves Black Garlic (peeled)
1/4 teaspoon chilli flakes
50g unsalted butter (softened)

... they were put in a bowl where they were mashed together (our butter had part-melted in the warm Easter sunshine so it looks a bit messy).  The butter was then seasoned with sea salt and freshly ground black pepper.

By this point the butter was looking quite liquid and needed chilling.  With this in mind we wrapped the butter in clingfilm and made a sausage shape. It was then put it in the freezer to chill.  If we'd had more time, we'd have put it in the fridge to use later.

Having fried our steaks, a ring of butter was cut from the roll, placed on the steak and allowed to melt into a delicious garlicky, buttery, spicy mix.  YUM!   Great to use for speedy BBQ seasoning too.

Friday, 13 March 2015

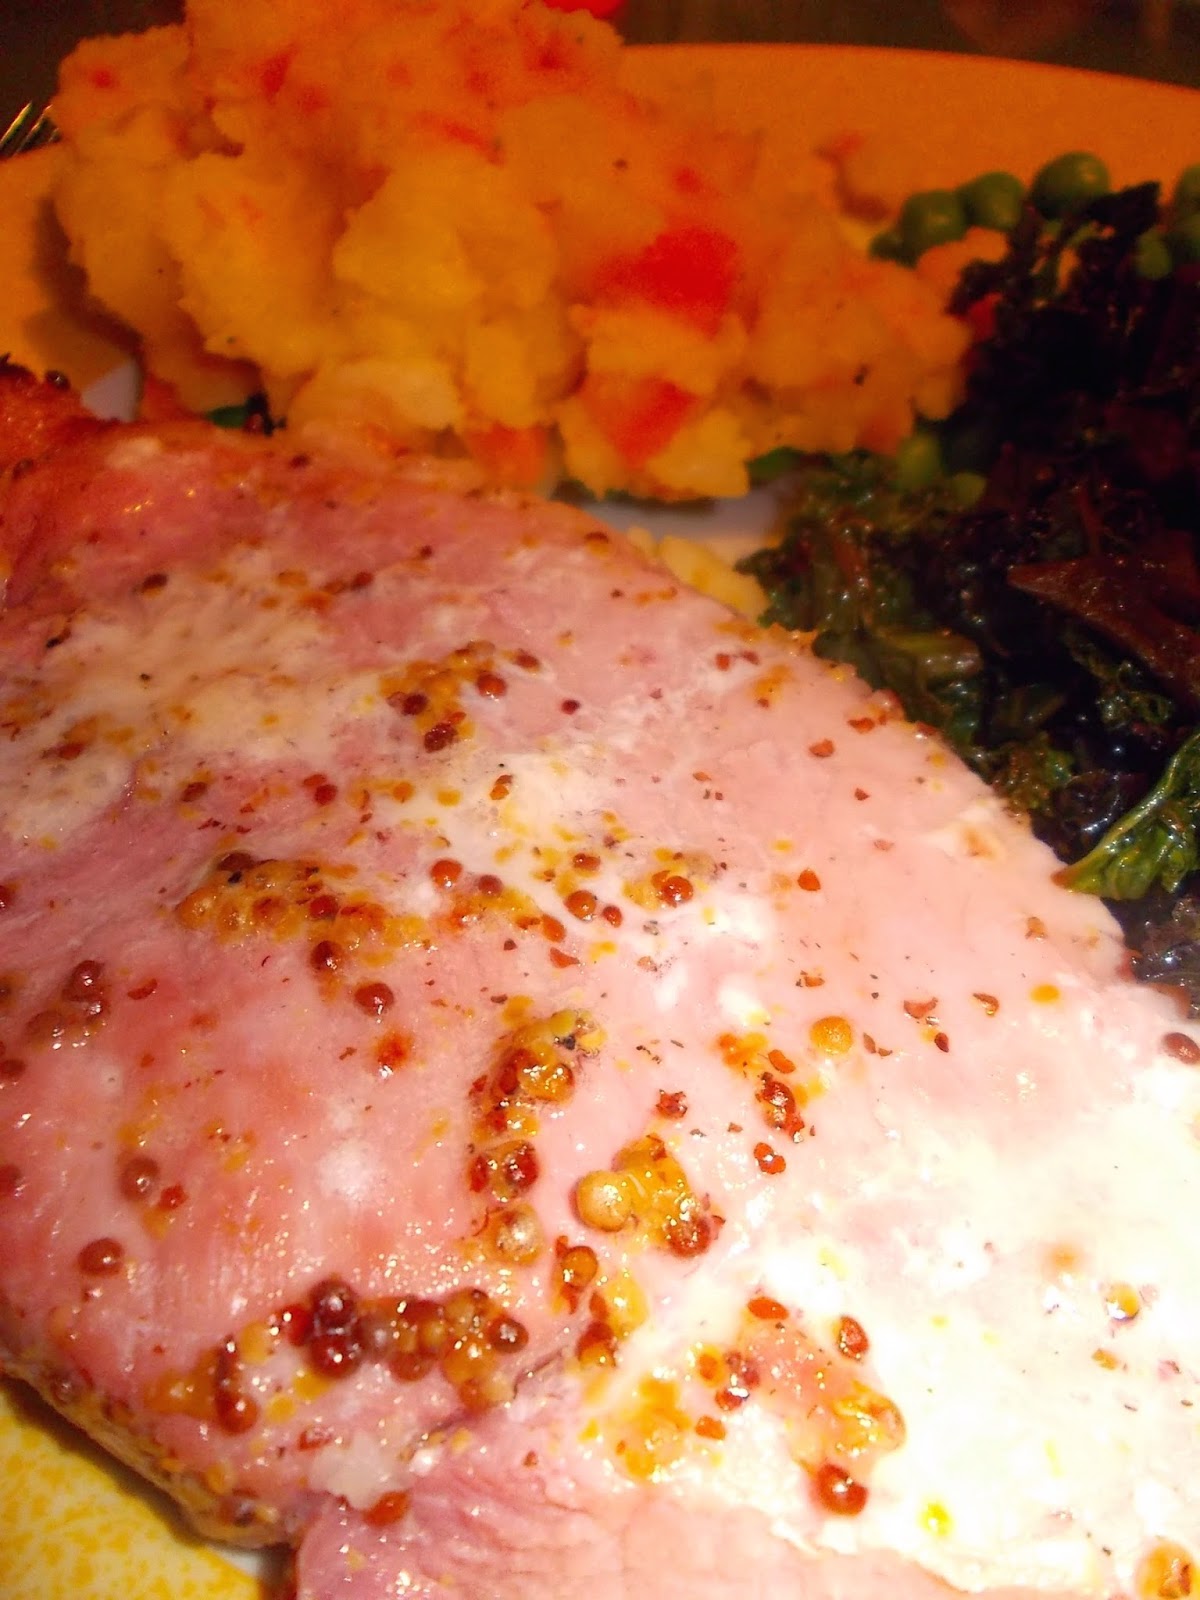
Pan fried Gammon with sticky sauce

Gammon steaks were on offer.  So we needed a recipe to use to tempt Sous Chef J to eat them.  He likes mustard and he loves maple syrup so those were chosen as ingredients.


First task was to cut through the rind and fat of the steaks.  We used a pair of sharp kitchen scissors to do this - cuts were made, through the rind and fat, at intervals of about 2cm.

Taking a tablespoonful of the maple syrup and the grainy mustard, they were mixed together.


Having put the prepared gammon steaks in a pyrex dish, the maple/mustard mix and some seasonings were added.  The steaks were allowed to marinade in the mix.
Cooking the gammon in a frying pan, on a medium heat, for about 6 minutes on each side, they were soon ready to eat.  Leaving the gammon to 'rest' whilst the vegetables were prepared.  We served the gammon steaks with mixed root vegetable mash and stir fried kale.  A successful, simple meal.