Monday 26 September 2011

Toad in the Hole

It was a lovely surprise to arrive home from holiday last week and find a pack of Isabel's Yorkshire Pudding Mix waiting for us in the post.  We had been lucky enough to test some of the mix before it had been finally packaged and prepared for sale.  So, we decided that a good dish to use it in would be Toad in the Hole. 
With this in mind, we bought some Gluten Free sausages from the Good Little Company and were ready to make the most of the oven space when we were baking Banana Bread on Friday.
The ingredients in Isabel's Yorkshire Pudding Mix are naturally gluten free...
.... and the instructions are clear and easy to follow.
So, we got 2 eggs and 320ml of milk and started to prepare the batter.
We whisked the eggs into the milk.

Then added the milk/egg mix to the flour and whisked it together.
Then, the batter was divided between two baking trays which had been placed in the pre-heated oven.  Instead of the oil suggested on the packet, we used a little beef dripping in the bottom of each tray.
One tray had just batter added and the other had some pre-cooked sausages added to the mix.  Both trays were then placed in the pre-heated oven (180ºC fan) and cooked for 25 minutes.

After 25 minutes in the oven, this was the result.  Sous Chef J was most impressed with the 'plain' Yorkshire pudding as it had turned into a mountainous pud.
The Toad in the Hole was cooked well throughout although the sausages were rather 'well done'!
Sous Chef J didn't complain though, and his plate of tasty mouthfuls was demolished in record time.
Thanks, once more, to Isabel for yet another lovely Gluten Free mix that makes cooking simple and tasty.

Check out our earlier post about cooking with Isabel's Pizza Base mix here

Friday 23 September 2011

Banana Bread

Sous Chef J was delighted to get a SUSTRANS leaflet through the post about Free Range Kids.  In it he quickly spotted a Hugh Fearnley-Whittingstall recipe for Banana Bread and, eyeing up the spotty bananas on the windowsill, he asked if we could bake it.  Taking a look at the ingredients, I agreed, although we did have to swap the apricots in the recipe for dates... and, of course, the self raising flour was substituted by Dove's Farm Gluten Free Self Raising Flour.
With Sous Chef J firmly in charge, preparation commenced.  He got the ingredients together and weighed out the things that were needed. So, we assembled 75g sultanas, one lemon, 100g soft unsalted butter, 125g sugar (recipe says caster, we had granulated), 2 large eggs, 3 large ripe bananas, 200g self raising flour (we used Dove's Farm Gluten Free Self Raising) and 75g dried dates (although recipe says ready to eat apricots!).

Then Sous Chef J moved onto the task of making the dates the same size as sultanas... but was surprisingly adept at the task and completed it without a moan!


The sultanas and dates were placed into little pots (a la MasterChef) and I was told to cream the butter and sugar.  Next an egg was added to the butter/sugar mix and combined well before repeating with the remaining egg.  At this point, the dried fruit and lemon zest were added and mixed in.
Sous Chef J then mashed the three bananas and added them to the mix.  Finally, the sifted Gluten Free Self Raising flour was carefully combined using a metal spoon. 
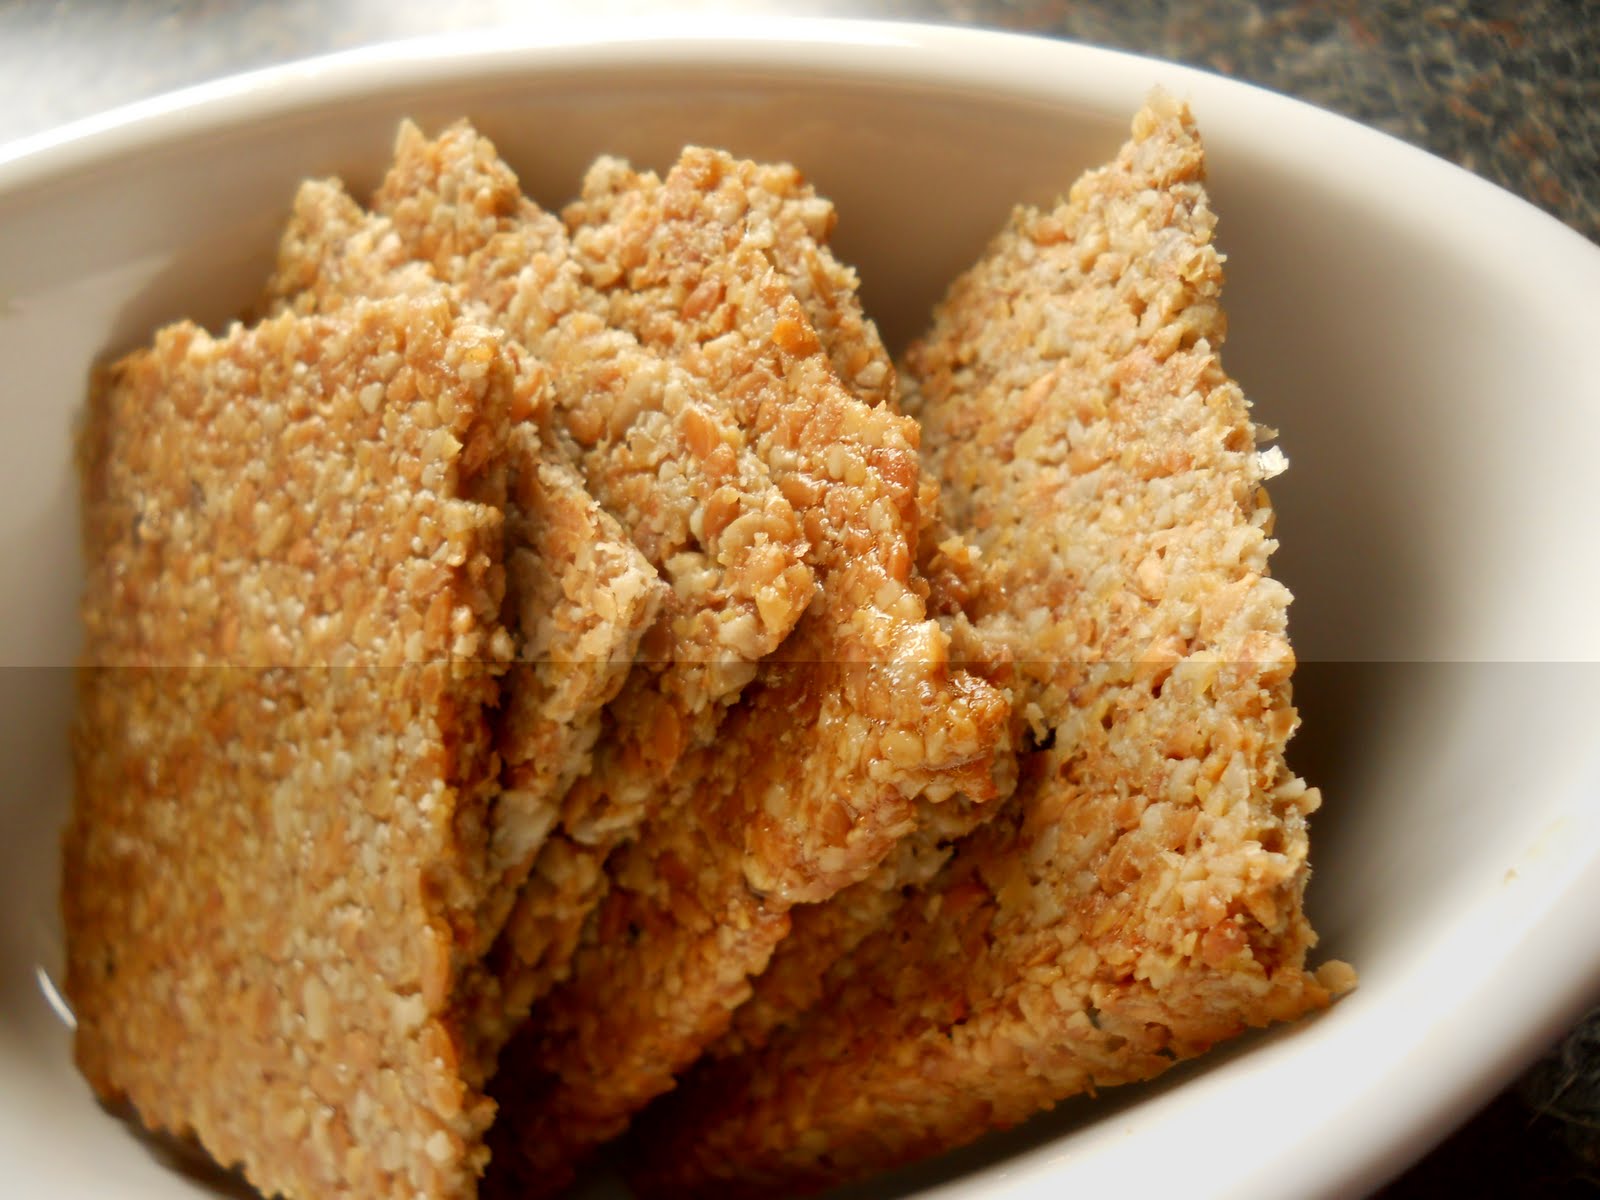
Next, the whole lot was added to the lined loaf tin and placed in the pre-heated oven.  As we were cooking other things in the oven, the temperature was higher (at 180ºC) than the recipe's stated 160ºC so we have a rather more brown outer loaf than would be expected!

Mmmmm... lovely Banana Bread
We checked it after 50 minutes but returned it for another 15 minutes as the inserted knife came out with cake mix on... then checked again, repeating until the knife blade came out clean.  In the end it was baked for about an hour and a quarter.  It was cooled in the tin for 15 minutes, then turned onto a wire cooling rack.

Delicious!  And well worth the wait.

Update - 7 October
Today we found ourselves with three VERY ripe bananas so Sous Chef J thought another batch of Banana Bread would be a good way to use them up.  I had other ideas and convinced him to try making muffins instead.  So, we agreed on a mix of muffins and mini muffins. The mix was shared between 12 muffin cases and 6 mini muffin cases.  The mini muffins were cooked for about 10 minutes, whereas the muffins took around 20 minutes.  Here are some pictures to show the results.
 
These are some ready to be frozen as we like to be prepared with Gluten Free goodies!

Monday 19 September 2011

Chilli Potato Mix

This is a simple and fairly quick way to make a tasty potato dish.  It has just four ingredients and is great to fill the oven when making cookies or cakes.
The ingredients were gathered - potatoes, sweet potato, sunflower oil and sweet chilli sauce.  We just used what we had to hand... and, this time, the ratio was about 3 parts potato to one part sweet potato but this is very variable.
First of all, the potatoes (we used new potatoes so didn't peel them) and peeled sweet potatoes were diced into similar sized pieces (about 1cm cubes) and placed in a bowl.  Then some sunflower oil was drizzled over and mixed thoroughly to ensure the cubes were coated.

This was then placed on a non-stick baking tray and put in the pre-heated oven (about 170ºC for our fan oven).

After about twenty minutes, the potatoes were turned and a good helping of chilli sauce was added...
obviously the amount used depends on how spicy you want the result... and check the sauce is Gluten Free.

Then, the well mixed concoction was returned to the oven for another five minutes or so until the potatoes had a golden sheen.
And there you have it... simple, quick and tasty Chilli Potato Mix.

Wednesday 7 September 2011

Baked Apple and Almond Pudding

Back in 2006, I found this recipe on deliaonline.com  it's already Gluten Free and makes use of apples (or which we've carrier bags full from pals' trees) hence we decided to give it a go.

As ever, Sous Chef J began by gathering the ingredients together.  A slight variance from Delia's recipe is that we used eating apples rather than Bramleys so no sugar was added to the apples during cooking.


First of all, the apples were prepared - cored, peeled and chopped - and added to a pan with 2 Tablespoons of water to simmer gently until they were softened.  They were then added to the base of a  Pyrex bowl that Sous Chef J had expertly buttered in preparation.

Then we then creamed the softened butter and sugar....

... before adding the beaten eggs and then folding in the ground almonds.

This was then spread over the apple mix and placed a preheated 170ºC fan oven.  As stated in Delia's recipe, we cooked it for exactly one hour... it even had its own timer.

At the appointed time, we removed the pudding and it looked like this...
... and here's Sous Chef J's portion.
Delia's recipe says it keeps in the fridge for 3-4 days... I don't think ours will last that long though!

Monday 5 September 2011

Crackers!


This is a recipe that came my way a number of years ago when a friend's son was diagnosed with a rare type of juvenile epilepsy. Having sought input all over the UK, they resorted to networking/researching on the internet and found that the ketogenic diet was an option that may control his seizures. They undertook a very strict and controlled diet limiting his carbohydrate content and meant he ate mainly protein and fat.  Measurements were to the gram - hence the small amounts listed.  This recipe is one both he and my son could eat.  However, it's a great gluten free cracker so we make it regularly too.

We doubled the amount shown in the recipe below today, and thus used 60g of egg, which is roughly one medium egg.
Although the recipe is titled nut crackers, it's not exactly accurate as there are no nuts in them! As Sous Chef J pointed out, it should be seed crackers...


The seeds were placed in the Braun-multiquick-small-chopper-thingy and whizzed for a short time to make a lumpy powder (don't go too long/high a speed - it'll change to seed butter if you do!).

Then the seed mix was put in a bowl and the beaten egg was then added and mixed in.  Finally the olive oil was thoroughly combined with the seed/egg mix.  It should be worked until it sort of stays together, almost like dough...


This was then spread onto a non-stick tray (using silicone spatula) to an even-ish thickness.  At this point, you can lightly score the surface which makes the crackers a little easier to separate... but we forgot this step today!  The tray was then put into a pre-heated 170ºC fan oven on middle shelf...


The pic to the right shows the crackers as they come out of the oven after about 12-15minutes... I checked after 8 minutes and then kept a close look out as they burn rapidly.

Having placed the tray on a cooling rack for a couple of minutes, the oils are absorbed into the seed cracker and a palate knife was used to define the crackers.  Et voila... seed crackers ready for a chunk of cheese and some home made apple chutney.  These keep well in an airtight container.

FOOTNOTE:-


The pic to the left is of the man himself... I had wondered why Sous Chef J was laughing as he wielded the camera... cheeky rascal!