Here's how he got on.
 As usual, the first thing was to gather the ingredients so SCJ checked the packet to see what he'd need to use.
After measuring the ingredients and putting them with the kit, SCJ was ready to start with the simple 5 step instructions.

Having emptied the contents of the mix sachet into a pan, the cream and milk (250ml of each) was added.

After placing the pan on the hob, the cream/milk mix was brought to the boil whilst being stirred continuously. As soon as it began to boil, SCJ set the timer for 2 minutes and reduced the heat to simmer the mix (again stirring all the time - we used a silicone whisk).
 Once the mix had thickened, it was carefully shared between three dishes (and, yes, it was a little lumpy but we found that didn't matter later!)
 The dishes were put in the fridge and chilled for a couple of hours before SCJ poured the contents of the sugar pack over the top (we'd decanted the sugar into a pot to make shaking/spreading easier).
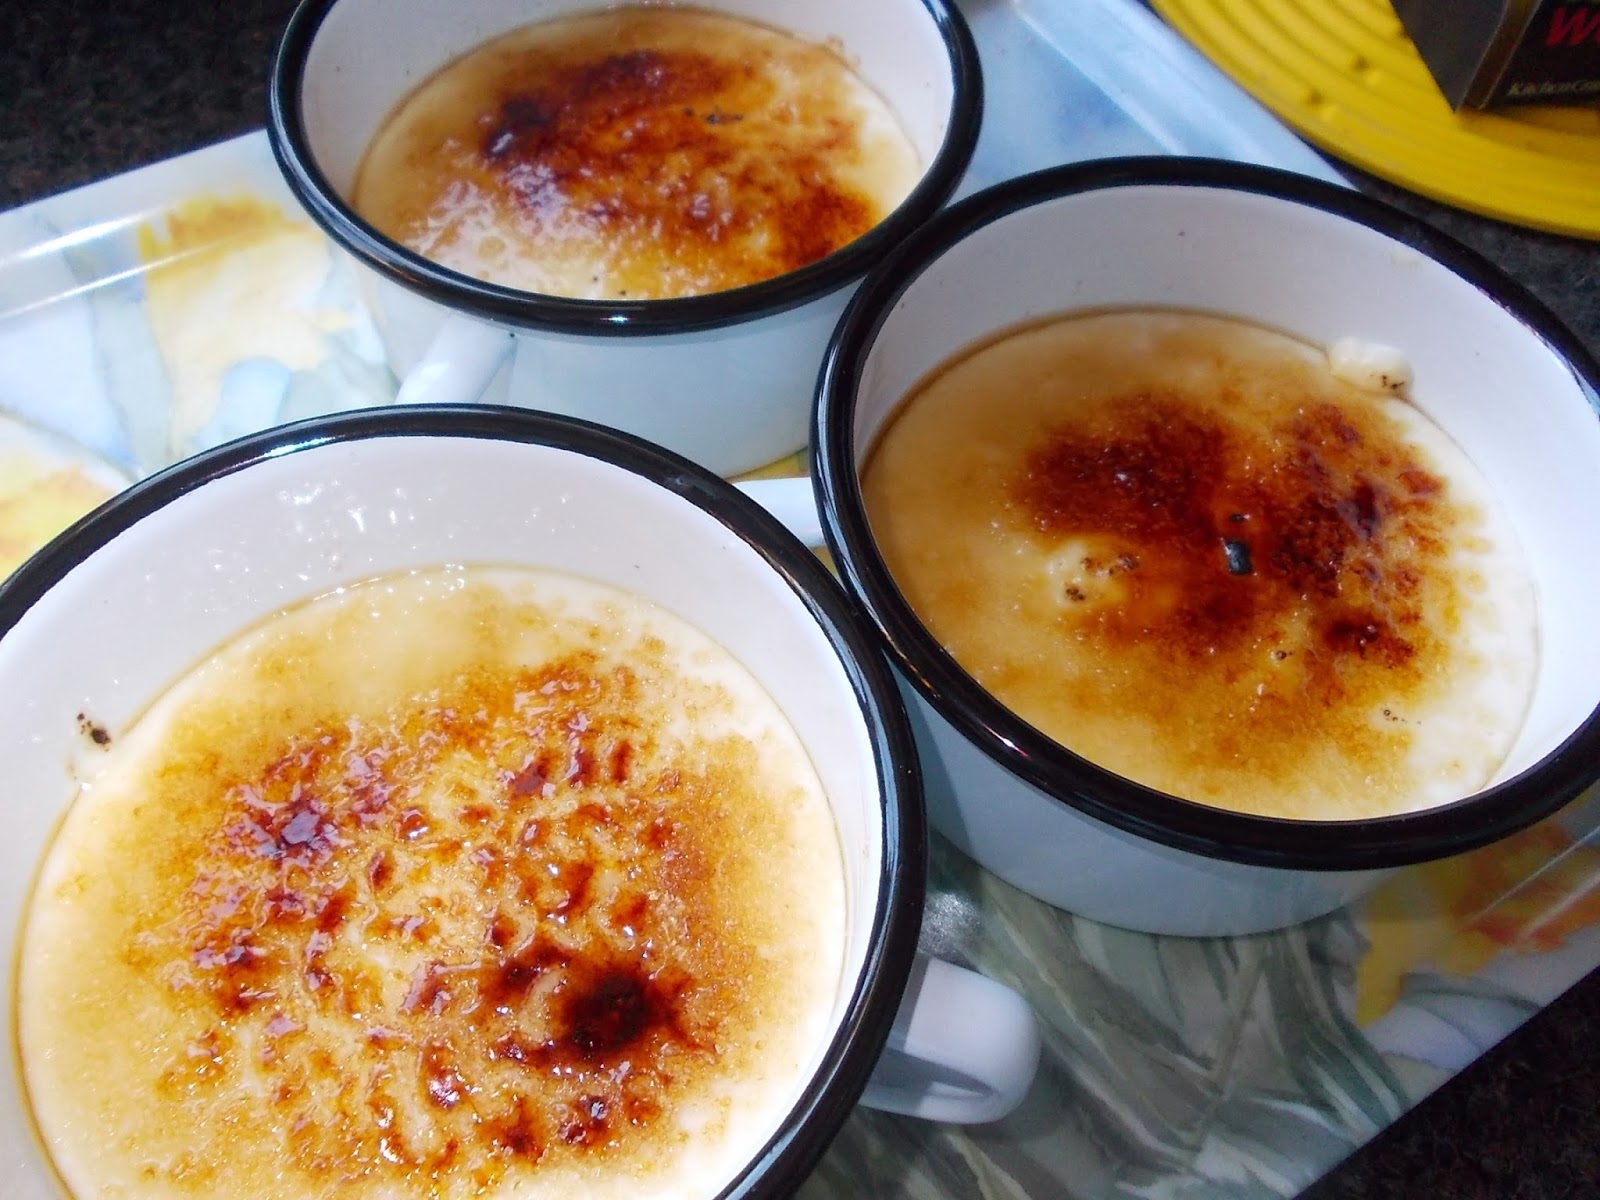
 When SCJ was happy with the sugar distribution, a blowtorch was used to caramlise (and not burn - too much!), or brûlée, the top. If you don't have a blowtorch, then putting the dishes (make sure they're heat proof) under a hot grill for a couple of minutes will also work well.
Returning the dishes to the fridge until it was time to eat dessert meant the caramel became lovely and crisp. SCJ enjoyed the dessert and was happy with the sharp crack/snap the caramelised sugar topping delivered.

No comments:
Post a Comment