Showing posts with label make it yourself. Show all posts

Friday, 24 April 2015

Crème Brûlée Kit

Sous Chef J adores crème brûlée... he also likes 'easy to make' dishes.  Being sent a packet of Sainsbury's make it yourself creme brulee was, therefore, something he was happy to have a go making.

Here's how he got on.

As usual, the first thing was to gather the ingredients so SCJ checked the packet to see what he'd need to use.


After measuring the ingredients and putting them with the kit, SCJ was ready to start with the simple 5 step instructions.


Having emptied the contents of the mix sachet into a pan, the cream and milk (250ml of each) was added.

After placing the pan on the hob, the cream/milk mix was brought to the boil whilst being stirred continuously.  As soon as it began to boil, SCJ set the timer for 2 minutes and reduced the heat to simmer the mix (again stirring all the time - we used a silicone whisk).

Once the mix had thickened, it was carefully shared between three dishes (and, yes, it was a little lumpy but we found that didn't matter later!)

The dishes were put in the fridge and chilled for a couple of hours before SCJ poured the contents of the sugar pack over the top (we'd decanted the sugar into a pot to make shaking/spreading easier).

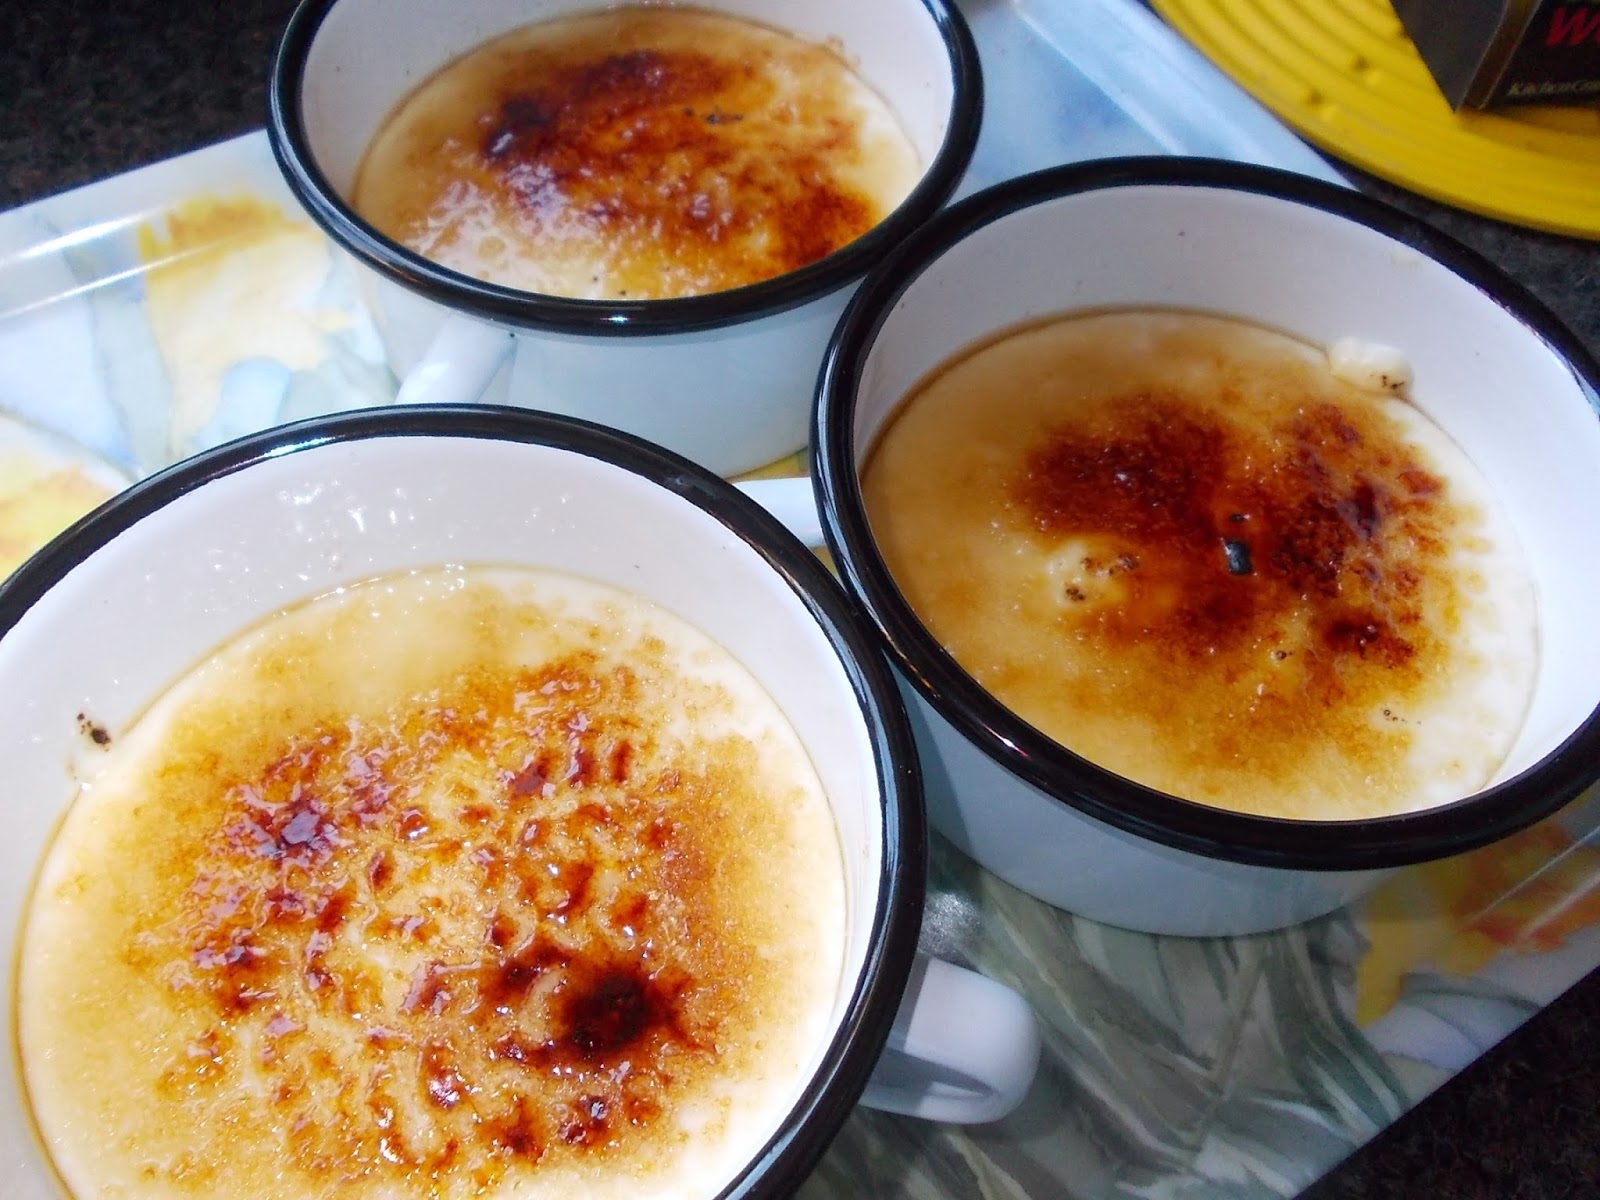
When SCJ was happy with the sugar distribution, a blowtorch was used to caramlise (and not burn - too much!), or brûlée, the top.  If you don't have a blowtorch, then putting the dishes (make sure they're heat proof) under a hot grill for a couple of minutes will also work well.


Returning the dishes to the fridge until it was time to eat dessert meant the caramel became lovely and crisp.  SCJ enjoyed the dessert and was happy with the sharp crack/snap the caramelised sugar topping delivered.
Disclosure - SCJ was sent a packet of Crème Brûlée Dessert Kit by Sainsbury's to try but was not required to write a post or paid for this blog. 

Monday, 9 February 2015

Panna Cotta and Coulis

Following the great success of the Sainsbury's Marshmallow Kit, we were asked if we'd like to try out their Panna Cotta Dessert Mix.
As always, we checked the ingredients were gluten free (they are) and decided to give it a go.  Since Sous Chef J is a big fan of Panna Cotta (as well as Creme Brulee and Creme Caramel) this was a good way to see if we could make a suitably 'wobbly' dessert as he's seen made many times on TV cooking shows.


The kit tells you the ingredients required to make the dessert are 250ml each of semi-skimmed milk and double cream


We gathered all of the ingredients and equipment ready to start.


Taking each step at a time, the dessert was made - here's what we did....
SCJ poured the contents of the bag into a pan.

The milk and then the cream were also added to the pan.,

Making sure the milk/cream mix was whisked whilst it was brought up to simmer.
The heated milk/cream mix was ladled into ramekins (we used 8 small ones)

Having filled the ramekins, we put them on a tray to cool slightly before chilling fuly in the fridge for 3 hours.


To accompany the Panna Cotta, we decided to make some 'coulis'... and, having been impressed with the range of frozen fruits on sale in Sainsbury's, Sous Chef J chose a 'smoothie mix' of strawberries and bananas to make ours (he's saving the mango for another day/dish).

As usual, we didn't want to make anything complicated.  Taking a handful of the frozen fruit mix (actually, SCJ only chose to use the strawberries) we left them to defrost as the panna cotta was cooling in the fridge. 


The strawberries were put it in a dish, with a squirt of rice syrup, and pushed through a small seive (we were only making a small amount - suggest using a hand blender if you're making more) 


The finished 'coulis' was looking good.


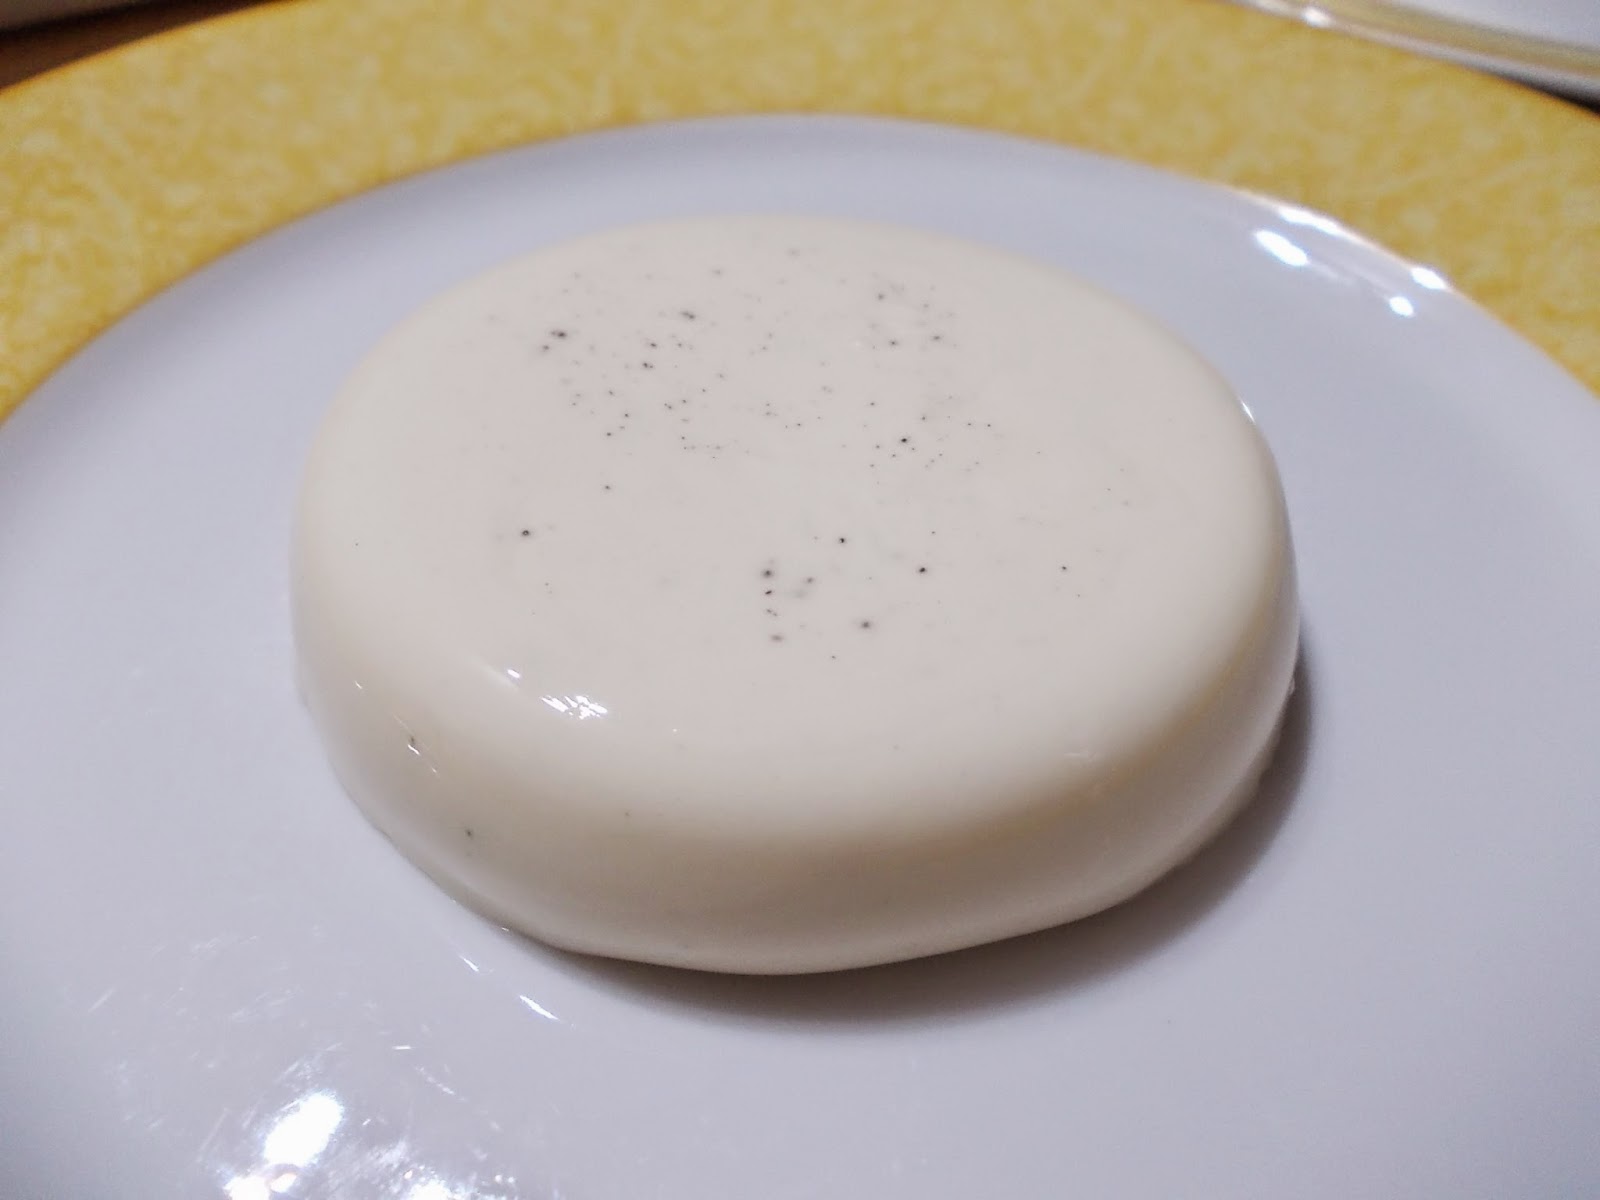
Turning out the panna cottas, Sous Chef J was delighted to find they had a very satisfying 'wobble' so we topped them with the strawberry coulis ready to serve.

The Panna Cotta desserts were very tasty and Sous Chef J is happy to think he can make them again another day... and is already thinking he'd like to make "one big one".  Another successful make it yourself trial.
Disclosure - we were sent a pack of Panna Cotta mix by Sainsbury's. We did not have to write a positive blog post. All opinions are our own.

Tuesday, 9 December 2014

Chocolate Pine Cones


Following on from our previous post, Sous Chef J and I have been thinking of 'different' edible decorations and came up with the idea of "trying to fashion" pine cones using chocolate buttons.  Knowing that pine cones show the Fibonacci spiral and thinking about 3- & 5-fold radial symmetry seen alot in nature,  we decided to give it a go...

As usual, we started by deciding on the ingredients (materials) to use to make our chocolate pine cones.  Sous Chef J decided the pine cone would need a 'centre' and thought a curly wurly would be good for this.

Cutting down a curly wurly into shorter pieces, we had the centre ready to be used.  (A note of caution, if the curly wurly is too cold, the internal toffee tends to shatter)
We used melted chocolate chips as the cement/glue to stick the buttons in place.

Using the same technique as we did for making our Rudolph Heads, we placed chocolate chips in a small plastic bag, which was then put in hot water to melt them, before cutting off one corner of the bag.  This was then squeezed out where needed to stick the buttons together to make the pine cone shape.

Next, the assembly of the pine cone could begin.  Three buttons were placed on a piece of card, a blob of chocolate was added and the curly wurly upright was held in place.  Then layers of buttons were added, around the upright, with more melted chocolate to make a cement.  This was repeated, building up the spirals of the pine cone.
Finally, the cone was ready!  We're quite pleased with the result.  We made a large cone using Giant Cadbury buttons and a few smaller cones using standard sized buttons.

The cones were bagged up in cellophane wrappers and will be given as gifts (if they last long enough!!)