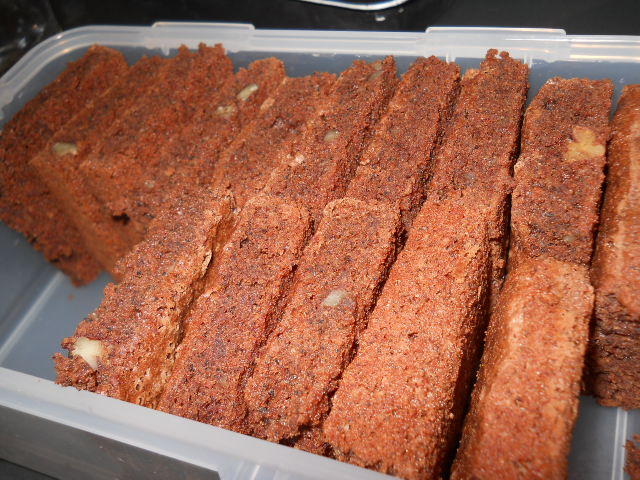
Whilst on what seems like a regular rummage through the many recipes we have, we spotted a printout from Delicious Magazine called "Gluten-free nutty chocolate traybake recipe".  A quick scan of the ingredients and we realised we actually had all the items required... so, the plan to make them was feasible.
 A quick scan of the ingredients and we realised we actually had all the items required... so, the plan to make them was feasible.
Sous Chef J gathered together the following:-
100g dark choc chunks
3 med eggs, separated
3 med eggs, separated
70g caster sugar
75g ground almonds
1 teaspoon fresh ground coffee (we used the innards of a one cup coffee bag!)
25g pecans, chopped

The ground almonds, chopped pecans and coffee were put in a bowl.
 Next, the egg yolks and sugar were mixed til light and creamy. Whilst this was happening, we melted the choc chunks over a bowl
  of boiling water.
  Once the chocolate was melted it was mixed into the sugar/egg and the dried ingredients were added as well.
 After the egg whites had been whisked to stiff peak state, they were combined with the chocolate mix. Combining the egg white gently by folding it in resulted in a similar mix texture to that of a roulade.
 Pouring the mix into a greased and lined baking tray, it was then placed in a pre-heated oven at 170C for 12 minutes when it was checked (we used a larger tray than recommended in the recipe so the mixture was thinner). Having checked the surface still had a spongy feel, the cake was removed from the oven and left to cool in its tray.
Once cooled, the traybake was turned out, sliced and stacked for storage.