Showing posts with label wheat free. Show all posts

Wednesday, 15 October 2014

Pinwheels, Twists and Marbled Biscuits

Having seen Mary Berry make some simple two tone biscuits on the TV, we decided to give it a go with some gluten free biscuit dough.

Making up a batch of standard biscuit dough, (200g caster sugar, 200g unsalted butter, creamed, then one egg added and mixed through).  We split it in two after the egg was incorporated.  To one half we added 200g plain flour (we used Dove's Farm gluten free) and to the other we added 150g plain flour and 50g cocoa powder.

The doughs were then brought together using the electric mixer before being pulled into a ball by hand.

The two doughs were rolled out carefully (we used a silicone sheet to stop sticking but clingfilm could also be used if that is what you have to hand.) 
Once rolled, we laid two small sheets of dough one on top of the other and rolled it, carefully, into a long tube - this would be used to form the pinwheel biscuits

After chilling the dough 'roll' for about 15 minutes (whilst we got on with making biscuit twists) we sliced the dough roll into discs.

Each disc was just less than 1cm in thickness and was carefully placed on the non-stick baking sheet.

The twists were made by cutting thin lengths of the bi-coloured dough (we used a rule and pizza wheel), twisting slightly and placing directly onto a non-stick baking sheet ... making sure to push the ends down to stop them unravelling during cooking.


Mary Berry suggested making marbled biscuits with the left overs... and this is what we did too!  They're really simple.  By combining the leftovers of the doughs, we rolled out, used a cutter and put the biscuits on a baking sheet.


The biscuits were chilled until ready to be baked in a moderate oven (170ºC) for 8-12 minutes (you need to keep an eye on them because varying sizes mean they cook at differing rates)

Once cooked, we allowed thebiscuits to cool for a short while on the baking sheets before transferring to a wire rack to cool completely.  Then they were ready to be stored in an airtight container for eating later... next time we'll make the twists a little shorter so they fit in our pots.

Thursday, 7 November 2013

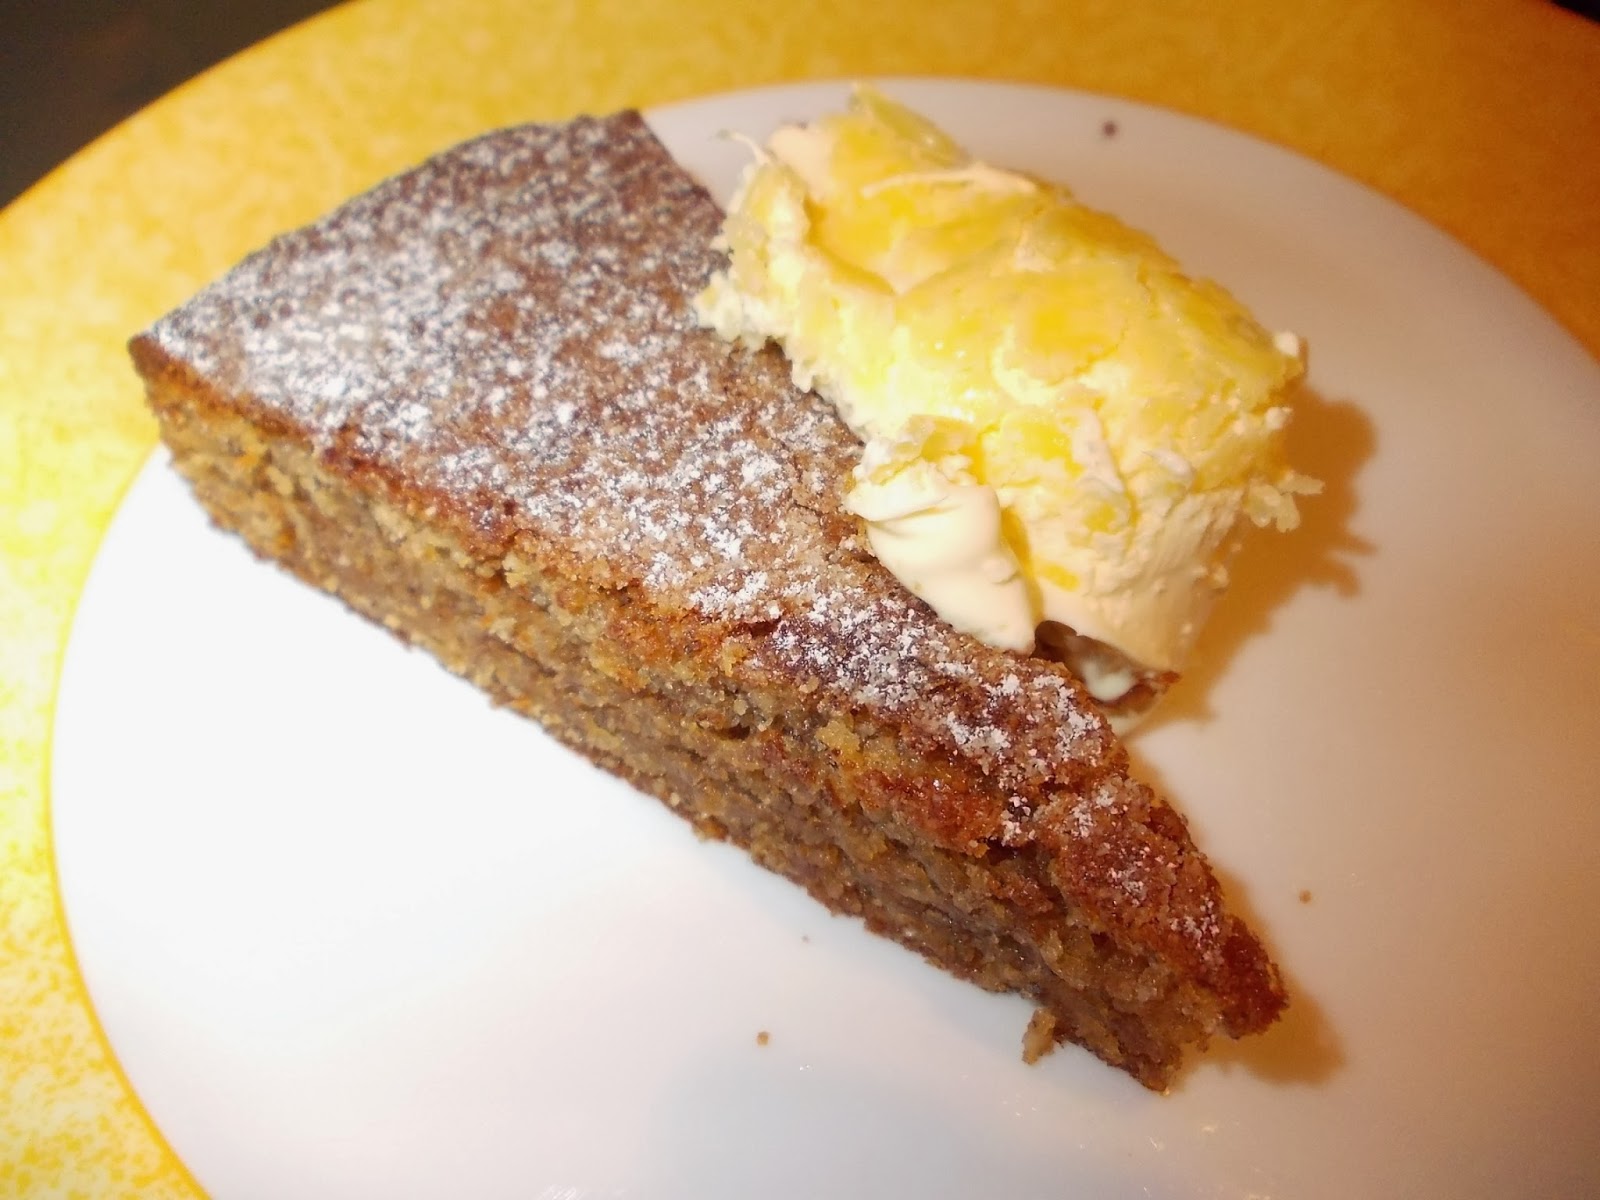
Hazelnut and Walnut Cake

We spotted this recipe in the Waitrose Kitchen Magazine, November 2013 issue, and thought it looked like something that'd convert to being Gluten Free quite easily... specially since there's only 2 tablespoonsful of flour in the ingredients.  It could probably also be adapted to be dairy free by using a dairy free cooking spread like Pure (which we use in baking our Quick Mix Chocolate Cake).

These are the ingredients we used -

150g unsalted butter, cubed and softened
90g walnut pieces
90g blanched hazelnuts
175g light brown soft sugar
2 Tablespoons Gluten Free self raising flour (we used Dove's Farm)
1 teaspoon Gluten Free baking powder (again, we used Dove's Farm)
3 eggs, beaten
1 orange, zest only
pinch of salt
icing sugar for dusting

The nuts and 50g of the sugar were whizzed in our small Braun hand blender - they're shown in the green bowl in the pic.  To this, we added the flour, baking powder and salt (shown in the red bowl) and mixed well.

In another bowl, we used our electric hand mixer to cream the butter and remaining sugar.  Once fluffy and light in colour, the eggs were added in small amounts.  Next, the orange zest was added, followed by the nut and flour and combined thoroughly.

Having lined a 20cm tin, we poured in the cake mix and baked in a pre-heated fan oven (160ºC) for 35-40 minutes until a skewer came out clean when inserted into the middle of the cake.  We checked the base of the cake for 'sogginess' and were delighted there was no sign of a dreaded soggy bottom!


The cake was cooled in the tin, removed when cool and dusted with icing sugar prior to serving.


We served the cake with a dollop of Rodda's clotted cream.

Having had a hearty wedge of cake each, some of slices were placed in a plastic pot and frozen for a treat at a later date.

Monday, 27 May 2013

Dark Chocolate Brownie Mix


Having been sent a Dark Chocolate Brownie Mix (which is gluten and dairy free) by Amanda at Hill Cottage Bakery, we were keen to try it out. 

It comes in a cylinder and contains the mix and a piece of greaseproof paper.  Such was the simplicity of the set, Sous Chef J decided he'd be able to manage alone... even opening the mix sachet easily which was something he was very pleased about.

Having read the instructions on the pack, he gathered all the equipment and ingredients needed.


The dry mix was placed in a bowl and the eggs and oil were added to it.


This was a chance for Sous Chef J to try out his new, cordless 3in1 Twisting Mixer from Morphy Richards (we'd spotted this a while ago and thought, because it's lightweight and quiet, it may work well for J.)  He loved it!  Simple to operate, lightweight and QUIET... plus he could do the whole 'bbrrm, brrrmmm, brrmm' thing that boys seem genetically programmed to do with power tools.

Having mixed for one minute (as instructed on the packet), the mix was placed in the baking tray.  As you will see, we didn't have a 7" square tin to use so 'improvised' with our trusty 6" x 10" tray which we lined with greaseproof paper... and, seeing as the mix would be thinner in this tin, we discussed that the cooking time would need to be reduced.

The brownies were placed in the oven, preheated to 150ºC and baked for 12 minutes (instead of the 15 minutes quoted for the 7" square tin.)


Whilst cooking the brownies, the kitchen was filled with a delicious aroma... and, having cooled the brownies in the tin for about 15 minutes, they were removed and left to cool completely before being cut into portions.

The bonus of having a larger baking tray is that we got more brownies from our mix than the 9 suggested on the carton... we had enough to save some for the next day's coffee break in a lock'n'lock box.


Sous Chef J decided he liked the idea of strawberries and cream to accompany the brownies and took a pic of his 'serving suggestion'...

... he tried a sample before agreeing the brownies were delicious and 'plating up' our dessert.


This was a really successful baking experience for Sous Chef J and we all loved the brownies.  They kept well overnight and were just as moist the next day having been stored in an airtight pot (away from hungry tums!)

At £7 a mix, buying these mixes would definitely be considered a treat here - as there's the cost of eggs, oil and baking to factor in - but we do think they're a great idea as a gift for gluten and/or dairy avoiders.  The price includes P&P which is good and the resultant brownies were 'squidgy and tasty'... just like chocolate brownies should be!

Disclosure:  Thank you to Amanda for sending us the Mix to try for free, we have not received payment for this post.

Wednesday, 13 March 2013

Fruit and Nut Bar

Sous Chef J has been losing weight... not a good thing when you're "a growing lad" so, in conjunction with a trip to the dentist who said "don't eat sugar" and the GP who said "eat healthy fat and calorie containing foods" we needed ideas.  Calorie filled food, that's not bulky, has the 'right' texture and doesn't have too much (if any) sucrose within.  Nut bars came to mind... with fruit... and perhaps a drizzle of dark chocolate.


We assembled 200g mixed nuts, 100g mixed fruits, 75g dessicated coconut, 90ml apple juice, some pumpkin seeds and a sprinkling of sunflower seeds.

The nuts we used were pecans, walnuts, flaked almonds and hazelnuts.

It was a simple matter of putting all the dry ingredients in the food processor, pulsing til chopped and then adding half the apple juice and blending.  Once the mix was starting to come together, it was turned out into bowl and mixed, by hand, with the remaining apple juice.

A ready greased baking sheet was then covered with the mix, it was flattened out as evenly as possible, scattered with flaked almonds and sunflower seeds.  The bars were marked out into the mix before the tray was placed in a 180ºC oven to bake for 10-12 minutes.  The length of time it will take to bake depends on the size of tin used/thickness of your mix so you'll need to check.  If you add nothing more to than this to the bars then, when they come out of the oven, they make a good sugar free snack.

However, Sous Chef J liked the idea of drizzling chocolate over the top.  So he melted a handful of dark chocolate pieces in a bowl and then 'artfully' covered the top of the bars, whilst still on the baking tray, with the chocolate.  The bars were left to cool on the tray for 10 minutes before being moved to a cooling rack to cool completely.

YUM!

The cooled bars were stacked in an airtight container and will last for a few days - assuming Sous Chef J doesn't eat them all before then.

You can make these bars using your choice of nuts, fruits and liquid - you can use nut milk, coconut milk or other fruit juice to make the dough... it's up to you.  Have fun, try different mixes and see which you like the best. 

Sunday, 14 October 2012

Fruit Scones

As Sous Chef J has been feeling under the weather recently, we have been trying to find food that tempts his tastebuds.  It seems that fruit scones with jam tend to do this... so a recipe was sought.

Having memories of baking fruit scones with my Nana, I remembered she'd add to the mix enough buttermilk to make a dough (this was never an exact amount as depended on the size/freshness of the egg and also the flour).  Needless to say, having a gluten free scone to produce, we needed some guidance with our measures.  So, armed with Phil Vickery's Gluten-Free Cooking book (which we use for plain scones - blogged here), we adapted his recipe.  So, our scone mix ingredients are:-

300g plain flour (we use Dove's Farm)
100g unsalted butter, cubed
1 Tablespoon caster sugar
4 teaspoons gluten free baking powder
2 teaspoons xantham gum
2 medium eggs, beaten
about 125ml natural yogurt
pinch of salt
Large handful of sultanas

Sous Chef J was at golf whilst the baking took place so I was supposed to be taking the photos.  Apologies, but I forgot... until the dough was made!

The dry ingredients were mixed together well, the butter was added and rubbed together (using just one hand) until they looked like fine breadcrumbs.  Then the wet ingredients were added, not all at once, to the middle.  A table knife was used to combine the wet and dry together until they started to form a dough.  Then the dough was thoroughly combined by hand.  Today, not all the wet ingredients were needed, but you do have to do this 'by eye' or feel.  When it was like this, it was placed on a floured board and the handful of sultanas were added and folded in.


Once the dough was lightly rolled to a thickness of about 2cm (1 inch), a 6cm cutter was used.  The scones were placed on a non-stick baking sheet and brushed with beaten egg.  They were then baked in a 200ºC (fan) oven for 12-15minutes (this depends on their size).  Once browned on top, they were cooled for 5 minutes on the baking sheet before being transferred to a cooling rack.  This amount of dough made 6x 6cm scones and 3x 5cm scones...

They are delicious eaten, still warm, with butter and jam.   The scones freeze well (if they last that long) and we halve and butter them prior to freezing.