Showing posts with label Cheese. Show all posts

Sunday, 1 March 2020

Cheese & Onion Loaf


We saw on twitter that the Box Bakery were selling #GlutenFree mixed packs containing bread and chocolate cake. Always on the look out for simple bakes, particularly bread, we placed an order. It was speedily delivered and the contents seemed tempting... and more importantly, required just warm water to be added!


Looking at the bread options, we decided to try the white bread mix. We thought that it would be nice tweaked with the addition of cheese and onion. 

To make the onion, a medium red onion was sliced thinly and fried in oil until it was starting to look transparent. It was then taken off the heat and left to cool. The cheese (we used Red Fox vintage red leicester) was grated.  
The instructions on the Box Bakery packaging were then followed. 

Opening the box on the corner, the lukewarm water was added. Having shaken the box as instructed, the lid was carefully peeled off and a fork was used to ensure the mix was fully combined.

At this point the onion and cheese was stirred into the dough and mixed through. The top of the loaf was brushed with olive oil. 

Following the instructions, the loaf was placed, in its box, in a cold oven with the temperature set for 50C, then cooking for 25minutes (a little longer than stated in the instructions to allow for the additional ingredients included in the loaf)

The oven temperature was then increased to 210C (fan) and the loaf was baked for 50 minutes.  It was checked after this time and the oven was turned off, leaving the loaf in the hot oven for a further 10 minutes. 

Taking the loaf out of the oven, it was left to cool.

Finally, it was removed from the box and sliced... 

We thoroughly enjoyed the bread and it was very good toasted as well. The concept of Bake in the Box is very good for easy, cupboard options...and also for those who aren’t #GlutenFree but want to offer pals who are a home baked and SAFE bread! I will be making sure my mum has a box for our next trip to see her 😉

Monday, 19 March 2018

Savoury Something Loaf

The other week (or was it month?) I spotted some Helen's bread mix being sold at a very reduced price in Sainsbury's.  We do not make #glutenfree bread from scratch, we either make a savoury soda bread or use Grass Roots Bakery's bread mix to make rolls.  But the bargain price caught my eye... so I bought the two remaining packs for pence. 

Next up came two challenges... remember to use the mixes and then figure out something J would actually eat!  Thinking there was a better chance of getting something to work that was a savoury bread, I decided a cheese and onion bread would be good... but J didn't like the idea of onion and came up with the idea of marmite OR mango chutney as the additional ingredient.  I thought we'd use the bundt tin for the bread baking to ensure a speedier and more even bake.


Melting some butter, with a scant teaspoon of marmite, the inside of the bundt tin was brushed with
the mix before having grated mature cheddar cheese sprinkled over. 

The mix was made up according to the VERY simple instructions on the pack - the sandwich bread mix only requires 300ml hand hot water and a tablespoon of oil to be added.  Following the "by hand" method on the pack, the wet and dry ingredients were combined using a metal spoon... and a porridge like
batter/dough was the result. 

Dollops of the mix were placed around the base of the tin, then a bit of the butter/marmite and a little grated cheese was added.  The
remaining dough was then added to the tin. 


As directed, the tin was placed in hand hot water for 40 minutes.


Once the dough had risen, the tin was placed on a baking sheet in a pre-heated 200ºC oven and baked for 25minutes when it was checked for baking. 

When the loaf was baked through, it was removed from the oven and allowed to cool for ten minutes before turning out onto a wire rack.

Slicing the loaf, you can see the texture and the included cheese and butter mix.  It's a real succes here!

Friday, 16 December 2016

Cheese and Chilli Whorls

Today was a 'make it' day... with not much time.  The oven was on and we needed some savoury snacks for the weekend.

A fridge audit revealed some Silly Yak pastry and grated mature cheddar... and an idea was forming.

Using half a pack of Silly Yak gluten free puff pastry, it was rolled out into a rectangle (about 3mm thick). 

The cheese was mixed with a Tablespoonful of paprika and smoked paprika, and a 'generous' sprinkle of chilli flakes.  These were then spread over the pastry, patted down and the pastry was rolled from one of the long sides... into a swiss roll shape.

Cutting the pastry roll into slices about 1.5cm thick, they were placed on a non-stick baking sheet and then put in a pre-heated hot oven (180C) for 10 minutes; they were checked and cooked for another 2 minutes until crisp and bubbling. 
Cooling them on the baking tray for a few minutes, they were removed and allowed to cool completely. 
A delicious, simple and spicy savoury treat.  Prepared and baked in 20 minutes - that's my type of cooking!

Sunday, 28 September 2014

Mini Muffin Quiches


We made some individual, pastryless quiches... mini sized ones which were 'perfect for picnic food'.  To do this, we decided to use some silicone muffin cases and our 'usual' quiche mix.

We used:-

4 eggs, beaten
3 onions, peeled and finely chopped
250ml yoghurt
Cheese, grated (we used mature farmhouse cheddar)

 These ingredients were enough to make 6 mini quiches and a large pastryless quiche.
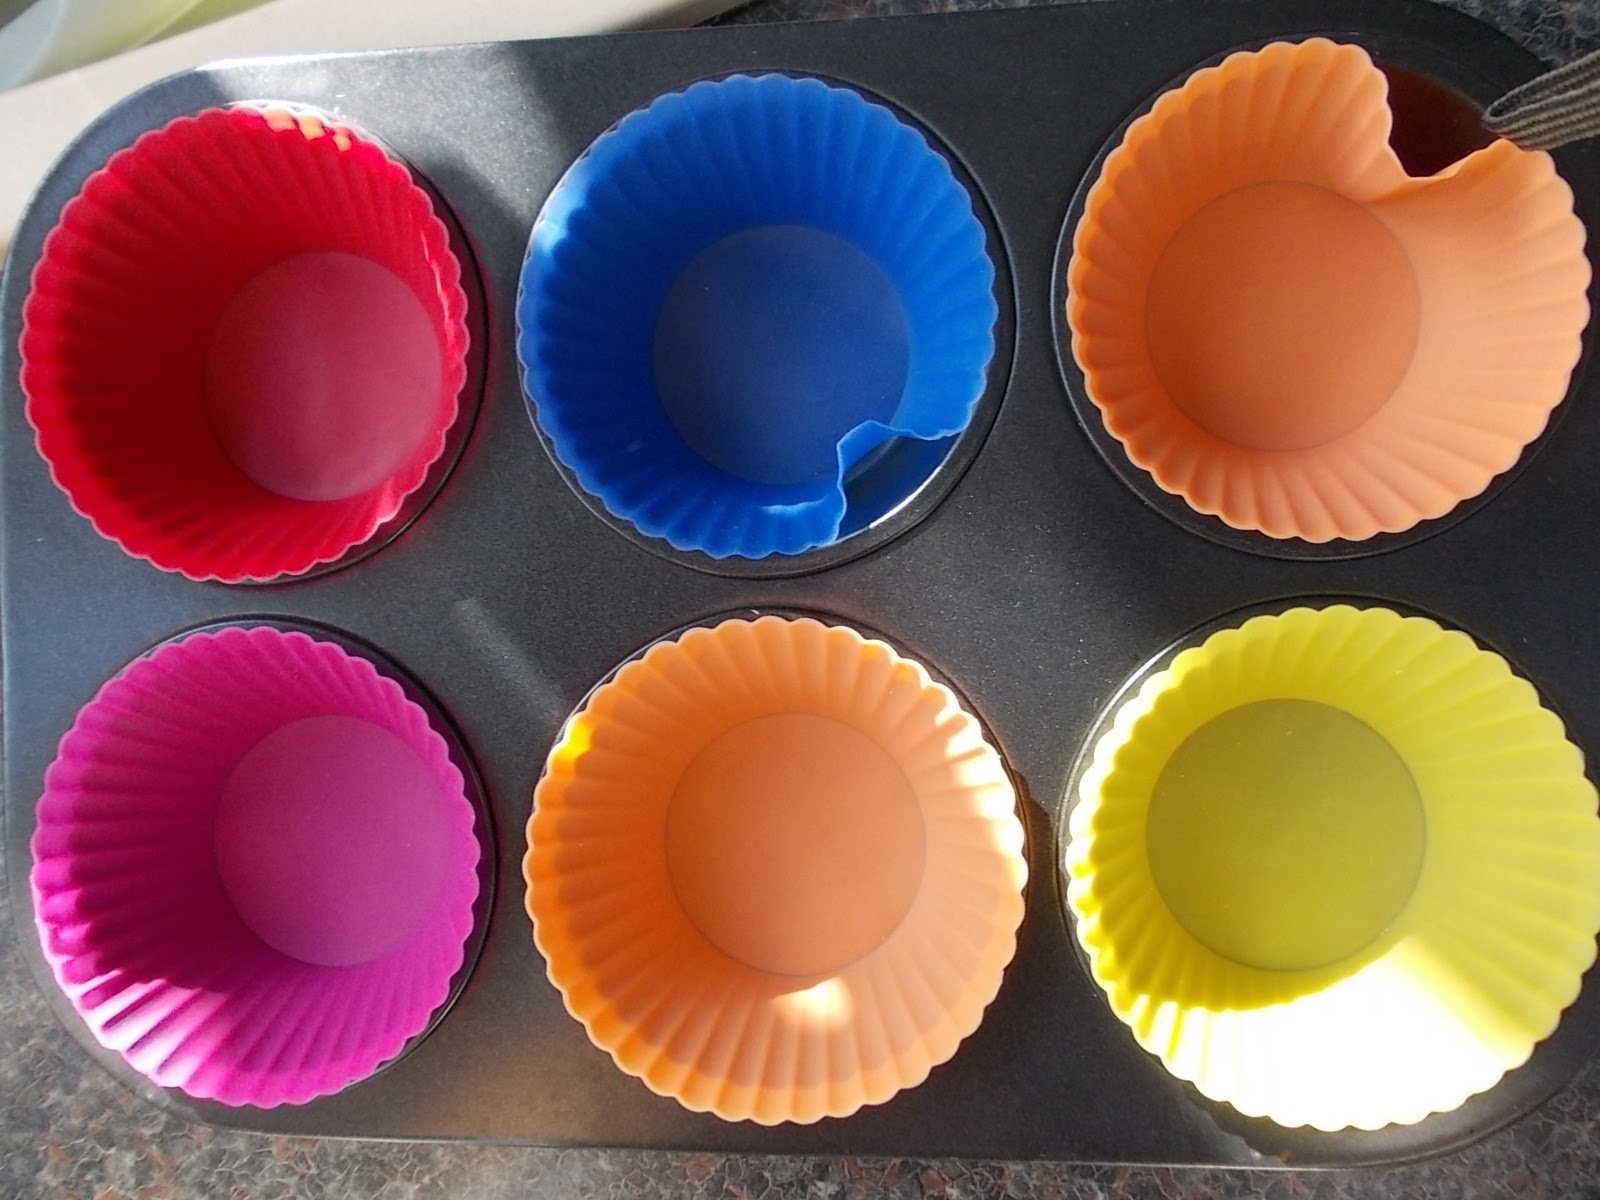
 We used silicone muffin cases to line our muffin tin.

The eggs were lightly beaten...
... and then the yoghurt was added and whisked through.  Next the grated cheese was incorporated and the mix was stirred to make sure it was all combined.
Having chopped the red onions, they were lightly fried untill they started to cook through.


We added a dessertspoonful of the egg, yoghurt and cheese to the bottom of the cases then topped this with some of the lightly cooked onions.

Each case was then topped up with some more of the egg mix before having some sliced yellow cherry tomatoes added.
The quiches were then placed in a pre-heated oven (180ºC) for about 10 minutes after which time we checked them every few minutes and removed them when the tops were just beginning to brown.


The completed quiches looked really appetising and were easy to remove from the cases.


We served ours with spicy potato wedges, sweetcorn and peas.

They can be saved, in an airtight container, in the fridge (or frozen), and make a great picnic/packed lunch item.

Friday, 10 January 2014

Slow Cooker Potato Layers

To make this simple store cupboard dish, we gathered the ingredients - garlic (2 cloves), onion (one large), potatoes (we used about 6 small ones), butter, cheese (grated leftovers from Christmas) and vegetable stock.  The amounts you will need depend on how big a potful you want to make - you'll need enough potatoes, onions and garlic for the layers and can add as much (or little/no) cheese as suits.  We used cheddar cheese, finely grated but gruyere or others could be used if they're what you've got to hand.  Here's what we did -

Whilst the onions were sliced thinly and the garlic was chopped, we switched the slow cooker on high to warm it up. 
Next, we sliced the potatoes thinly (and carefully) using a mini-mandolin device we have... it's always a bit of a worry to use such things as digits get very close to blade - hence I did this rather than delegate to Sous Chef J.
Once everything was prepared, we greased the inside of the slow cooker pot with butter, then began assembly...
 .... which is simply layering onion and garlic, then potato slices and cheese... repeat until all ingredients used up.
On the top layer, we added some knobs of butter and a good grind of black pepper.
Finally, vegetable stock (we made ours up using a Knorr stock pot and used about 300ml, enough to just about reach the top of the layers) was poured into the pot and the slow cooker was turned down to low. 

The lid was placed on and the dish was left to cook for about 6 hours.  (It can also be cooked on high for about 3 hours -  which is useful if you forget to start the dish in time to leave it to cook for hours and need to eat earlier!)

The end result was judged as being "very tasty".

Saturday, 2 November 2013

Tomato Chutney

Our pot-grown tomato plants rewarded us with a good haul of fruit this year.  With the approach of Autumn and forecast strong winds, we needed to harvest and use them... so we decided to make chutney.  The recipe used was originally for just green tomatoes but we decided to make a mixed tomato version of it.

The ingredients used were -

1.8kg tomatoes, washed and chopped
675g onions, peeled and chopped
450g cooking apples, peeled, cored and chopped (we used ready pureed frozen apples)
450g brown sugar
600ml cider vinegar
225g seedless raisins and sultanas
25g root ginger, bruised
tablespoon chilli flakes
2 teaspoons of salt

Having chopped and chopped and chopped the tomatoes and onions, they were placed in our huge chutney pan... the apple was also added, as was 300ml of the vinegar.  This was then cooked over a medium heat until the contents were soft (took about 30 minutes).

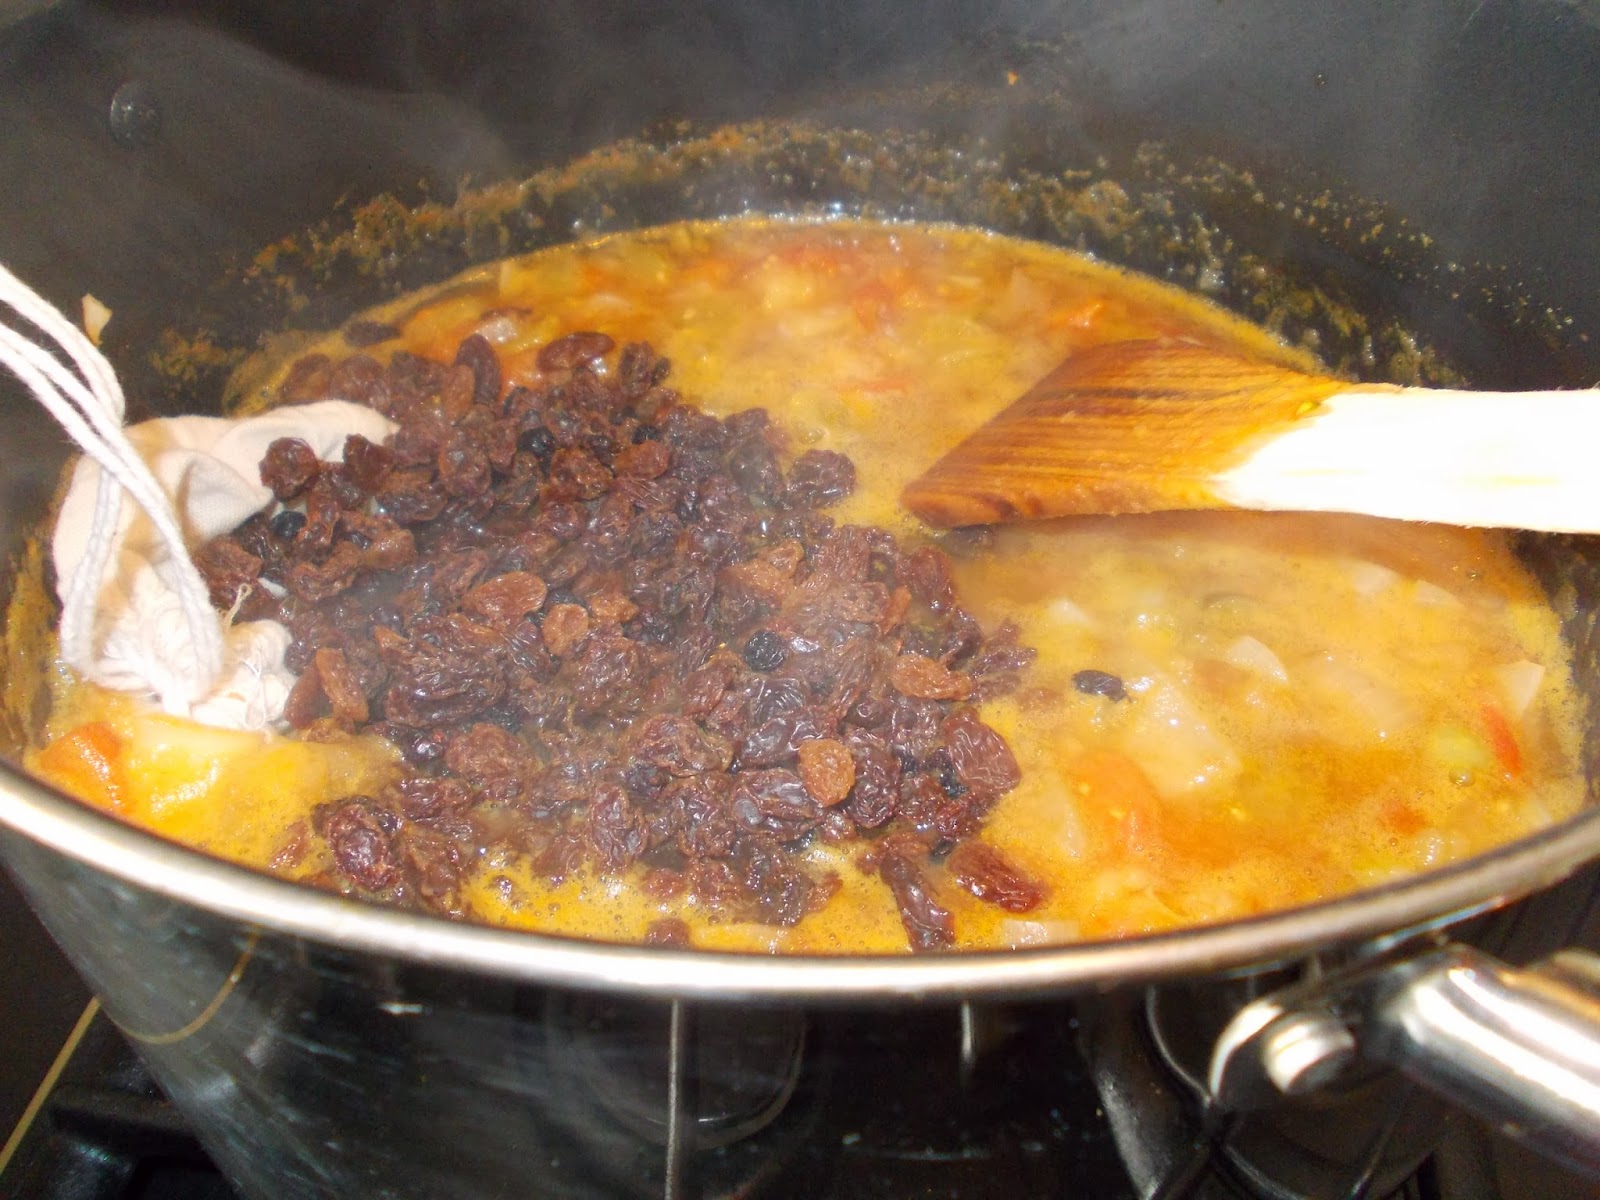
Using a spatula to mix the contents of the pan, we than added the fruits and place a bag containing the ginger and chilli into the pan (we attached ours to the pan's handle).  This was then mixed through and cooked for about an hour.

Once the chutney started to thicken, the sugar, remaining vinegar and salt was added. Stirring the chutney thoroughly, the chutney was brought up to simmering and left to thicken - stirring regularly to avoid burning/sticking.  (To remind us to stir the chutney, we set the timer for 15 minute)  It took about an hour for the mix to thicken.

The bag of ginger and chilli was removed and then we potted the chutney in sterilised jars, allowed it to cool and will leave for
the flavour to develop for at least 6 weeks before eating it.

We like to serve the chutney with cheese or spicy potato wedges.  If bottled in pretty jars, it makes a lovely gift - perfect for a foodie's Christmas!