Showing posts with label Dairy Free.. Show all posts

Friday, 26 September 2014

Home Grown Tomato Salsa

We've had a fantastic crop of tomatoes in the garden this year which has resulted in a daily harvest of more than a handful of ripe fruits to 'deal with'.  As Sous Chef J is a big fan of salsa we decided to use our garden haul to make a try at our own salsa. 

Looking round the garden, we gathered a few salad onions, a small bunch of flat leaf parsley and a chilli... to go with the tomatoes.


The tomatoes were washed and chopped.


Having found a small lemon in the fridge, we used a reamer to juice it.


We also washed and chopped the onions before carefully removing the chilli seeds and finely chopping that.

The parsley was roughly chopped, added to the bowl with the other ingredients and the lemon juice was added and mixed through.

That was it - our version of salsa was ready for eating with gluten free tortilla chips.

Saturday, 2 November 2013

Tomato Chutney

Our pot-grown tomato plants rewarded us with a good haul of fruit this year.  With the approach of Autumn and forecast strong winds, we needed to harvest and use them... so we decided to make chutney.  The recipe used was originally for just green tomatoes but we decided to make a mixed tomato version of it.

The ingredients used were -

1.8kg tomatoes, washed and chopped
675g onions, peeled and chopped
450g cooking apples, peeled, cored and chopped (we used ready pureed frozen apples)
450g brown sugar
600ml cider vinegar
225g seedless raisins and sultanas
25g root ginger, bruised
tablespoon chilli flakes
2 teaspoons of salt

Having chopped and chopped and chopped the tomatoes and onions, they were placed in our huge chutney pan... the apple was also added, as was 300ml of the vinegar.  This was then cooked over a medium heat until the contents were soft (took about 30 minutes).

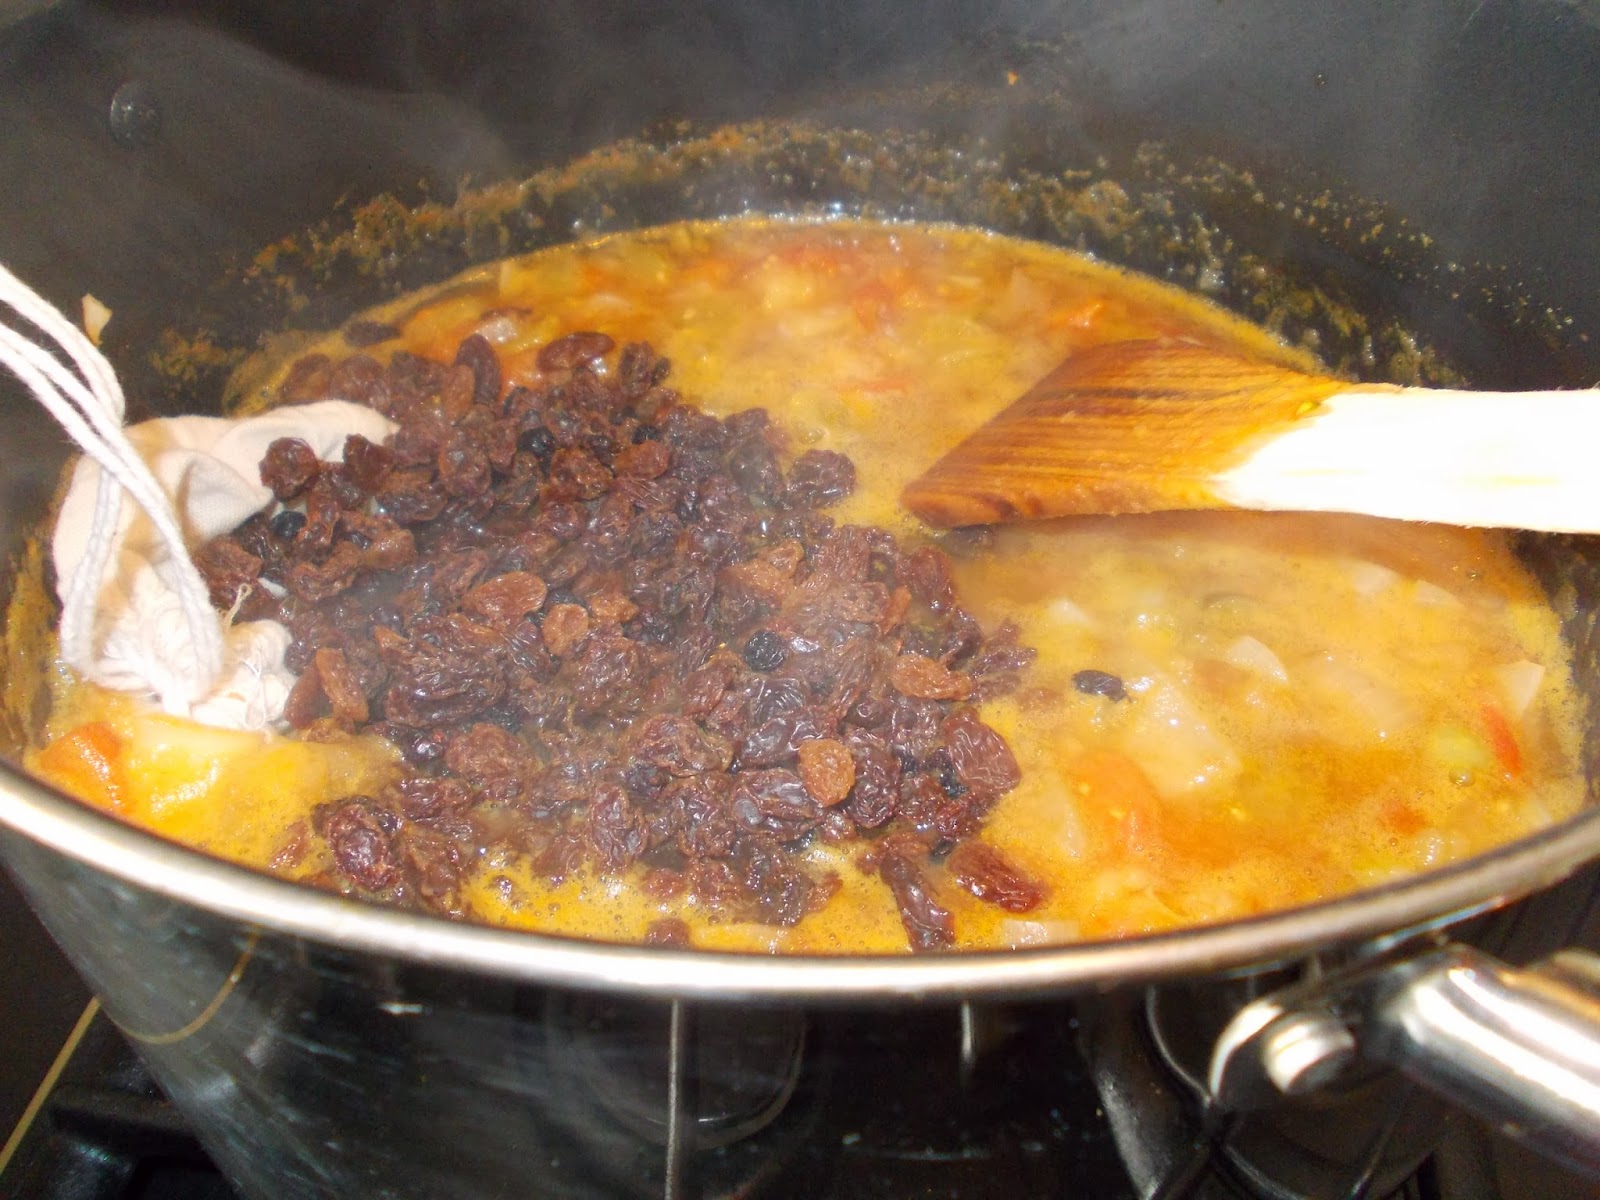
Using a spatula to mix the contents of the pan, we than added the fruits and place a bag containing the ginger and chilli into the pan (we attached ours to the pan's handle).  This was then mixed through and cooked for about an hour.

Once the chutney started to thicken, the sugar, remaining vinegar and salt was added. Stirring the chutney thoroughly, the chutney was brought up to simmering and left to thicken - stirring regularly to avoid burning/sticking.  (To remind us to stir the chutney, we set the timer for 15 minute)  It took about an hour for the mix to thicken.

The bag of ginger and chilli was removed and then we potted the chutney in sterilised jars, allowed it to cool and will leave for
the flavour to develop for at least 6 weeks before eating it.

We like to serve the chutney with cheese or spicy potato wedges.  If bottled in pretty jars, it makes a lovely gift - perfect for a foodie's Christmas!

Friday, 4 October 2013

Spiced Apple and Squash Soup


Sous Chef J spotted this recipe in the Waitrose weekly paper and liked the sound of the 'spicy bit'.  As our veg box had left us with a squash, we decided to give it a go.

We started by gathering together the ingredients:-

1 tbsp oil
1 onion, chopped
¼ tsp chilli flakes
½ tsp ground cinnamon
1 squash, peeled, deseeded and diced
Apple puree (we'd already made this from some Autumn windfalls but the recipe states 2 apples, peeled, cored and diced)
1 litre vegetable stock - we made this up using a Knorr stockpot

Having heated the oil in a large saucepan, the onion was fried for 3–4 minutes. Next the chilli flakes, cinnamon, squash and apple puree were added, mixed and cooked for a couple of minutes.

Finally, we added the stock, covered and brought to the boil before simmering for 20 minutes by which time the squash was tender.

Before serving, a stick blender was used to purée the soup. Seasoning was added to taste and it was served with some Genius Gluten Free Seeded bread and butter.

The recipe states it makes 4 servings but we had enough for 8 - I suppose it depends how big your appetite (and soup bowl) is!  Having made a panful, we decanted the excess soup into sterilised jars, cooled them and then stored in the fridge before heating up for further lunchtime loveliness.


Give it a go... it's a tasty, warming and simple seasonal soup!

Wednesday, 5 June 2013

Rhubarb fool with ginger crumble

It seems that quite a lot of the time, shop bought packets of gluten free biscuits are a mass of crumbs when we open them.  Given their cost and being of a thrifty Northern persuasion, methods to use them up are sought.  So, when we found one of our favourite packs of Lazy Days Ginger Snaps were already beginning to crumble it gave us an idea.  We'd had a bundle of rhubarb in the veg box and thought we'd try to make 'something' tasty.  Being the type of 'cooks' that opt for simple stuff with very few ingredients, it was then a question of whether to go with rhubard fool or rhubarb crumble... in the end we went for a 'combo pud' as you will see.

The ingredients were simply - rhubarb, honey, rice milk and custard powder, gluten free ginger biscuit crumbs and some double cream for decoration (for Sous Chef J)... you can leave out the cream if you want/need a dairy free pud.

Preparing the rhubarb was a matter of washing, peeling and slicing.  This was placed in a stainless steel pan together with about a tablespoon of runny honey and a dash of water.  A tight fitting lid was placed on the pan and the rhubarb was cooked over a low heat until it began to soften.  At this point, the heat was turned off and the mix was left to one side to cool.


Meanwhile, the custard was made.  We used about half a pint of rice milk and a tablespoon of custard powder.  A bit of milk was added to the custard powder to make a paste.  Then, having heated the milk to almost boiling point, the warmed milk was added to the paste, then the whole lot was put back in the pan and heated, over a moderate heat, stirring all the time until the custard thickened.  This was also set to one side to cool.


Whilst the rhubarb and custard was cooling, the ginger biscuits were turned from bits to crumbs. Sous Chef J made full use of a rolling pin to assist the crumbling process.

 Finally, it was time to assemble... so we found a few jam jars to use for our 'rustic' presentation and some smarter glasses for the 'posh' puds.

Assembly entailed layering the rhubarb in the bottom, adding some custard (carefully or else it can sink) and finally topping with the ginger biscuit crumble.

For the full 'posh' presentation in the martini glasses the crumble was topped a trio of whipped double cream "eggs".


The end result was clean crockery which is always a good sign.

The rustic presentation in jars would make a good pud for taking on picnics - although ours didn't last long enough to make it out into the sunny UK weather!  A simple free from pud that isn't chocolate or a piece of fruit.

Monday, 28 May 2012

Summer Dipping Sauce


We have been eating outdoors a lot in the hot weather we've had in the UK over the last week.  This has prompted a seasonal interest in dips and dippers.  Sous Chef J particularly likes such food as it means NO CUTLERY required!

So, having decided to look at our range of dip recipes, we went for a simple version of Marie Rose Sauce.

As ever, few ingredients are involved.  Sous Chef J found all the items we needed - mayonnaise, lemon, tomato puree and Tabasco (pepper sauce).


Placing a couple of tablespoons of mayo in a bowl together with about a heaped teaspoon of tomato puree, a good squeeze of lemon juice was added (the more lemon juice you add, the runnier the 'dip) and mixed well.  Then a healthy dash of Tabasco was added and stirred through.  Et voila.  Dip ready!

Next the dippers were prepared.  This time we had some spicy tortilla chips, chopped up peppers, cucumber, apple, tomatoes and cheese.  If you want you can also use prawns, crabsticks (although we don't these days as they aren't gluten free) and/or crisps.

Sunday, 5 June 2011

Nut Butter Cookies

 
This recipe is one I found a while back on Annabel Karmel's website when searching for a Gluten Free Cookie Recipe.
 

To make 18 cookies, we needed

  235 g (8 1/4 oz) smooth peanut butter, at room temperature
165 g (6 oz) caster sugar
1 medium egg
1/4 tsp bicarbonate of soda
a large pinch of salt
165 g (6 oz) milk chocolate chips (or milk chocolate, chopped) 

The ingredients are quite limited but, as is usual, we did make a few changes!  Normally, we use any kind of nut butter instead of the peanut butter the recipe suggests - this week it was the turn of almond butter.  Also we only use 100g of chocolate drops plus ours were plain/dark ones (from Doves Farm.)
Having mixed the majority of the ingredients together, which was quite a work out for sous chef J as it's quite a dense blend, the chocolate chips were added...
 ...and then the mix was rolled into small, walnut sized balls and placed on a non-stick baking tray.  Before being flattened slightly and placed in the oven at 180ºC before being checked after 10 minutes.  The recipe states 12-15 minutes but experience has taught us not to wait that long, as nut butter can burn quite quickly... and as all ovens vary, we like to keep an eye on things!


Sous chef J declared that the cookies were done, so they were removed from the oven and left to cool on the tray for 10 minutes (remember to set the timer... you need to move them before they become too cold) and then put on a wire rack to completely cool.
A few of the cookies were packed and frozen for later consumption.... they're great for grabbing from the freezer and adding to a bag of picnic goodies as they'll be defrosted in time for lunch!
They freeze well and, as they have a high sugar content, they are good as a once in a while treat.  Made with dark choc chips like we do, they're also Dairy Free....

Sunday, 13 March 2011

Lunar Cookies

Having seen big cookies on offer in the supermarket, Sous Chef J was inspired to make up a recipe to see if he could have big, Gluten Free cookies too. This is the result of his efforts. It's a simple recipe, with just a few ingredients and can also be sugar free too. He called it Lunar Cookies as it fitted in with the Solar System theme that we were learning about at the time.Here are the ingredients. And the recipe was hastily scrawled on a piece of paper...
Today, we made half the quantity and then split the 'base' mix into two... making big, lunar cookies by decorating with Gluten Free, Dairy Free chocolate beanies and then added a handful of sultanas to the rest to make 6 smaller, sugar free cookies.
The cookies were formed on non-stick baking trays by placing a spoonful on the tray then patting into shape by hand.

The big cookies had the beanies added at this point. The smaller, sultana cookies were placed about 4cm apart. Both sets of cookies were baked on non-stick metal trays.

The cookies were placed in a preheated oven (about 180ºC); the smaller ones were removed after 7 minutes and the large ones were cooked for 10 minutes. Once out of the oven, the cookies were cooled for 10 minutes on the baking tray before being transferred to a rack to cool.
As you can see... the cookies look very inviting and we never have them around for long! However, they do keep well in an airtight container and we have been told by non-GF kids that they think they are yummy too.

This is a great recipe for those on a Gluten Free regime, diabetics wanting to avoid sugar and those who need egg free treats too.