Showing posts with label flourless. Show all posts

Friday, 15 May 2015

Nut Butter Choc Chip Cookies

Since Sous Chef J was a very young lad, we've been making nut butter cookies and have blogged a recipe before.  This is how to make what we think is the best version of our much-tweaked (and tested) recipe.

The ingredients are, basically, store cupboard items and no mixer is needed to make them.

170g Smooth Nut Butter (we like to use Meridian Foods almond)
65g Crunchy Nut Butter (we use peanut - again from Meridian Foods)
165g caster sugar
35g dark chocolate chips
1 Large egg, (lightly beaten with a fork)
1/2 heaped teaspoon bicarbonate of soda (make sure it's gluten free - Dr Oetker & Dove's Farm are)
pinch of salt

We set the oven to heat up to 165ºC (fan) and rapidly prepare the cookie mix.

For ease, we now buy 170g jars of Meridian smooth almond butter but it also comes in 1kg tubs (which we used to buy till we realised it was no cheaper!), we scrape it out carefully using a thin silicone spatula and put in a medium sized mixing bowl.

Next we add the crunchy nut butter and sugar and mix to combine (we use a silicone spatula for this as the nut butter doesn't stick too much).

Then the beaten egg is added and, again, mixed through before adding the chocolate chips and salt and then they are folded in.

Finally the bicarbonate of soda is added (we do this last to ensure the raising agent isn't activating too far in advance of baking) and the mix is thoroughly combined.

We have found that 33g balls of the mix (yes, we are that precise) work best for us... and they are weighed out speedily, then carefully placed on non-stick baking sheets (if you don't have these or the non-stick's a bit old, then use greased sheet covered with baking paper/parchment/silicone sheet).  The mix is rolled lightly, placed on the baking sheet and pressed down slightly.

The cookies will spread during cooking so be careful about overloading the baking sheet.  The picture shows how we lay out the cookies on our baking sheets.

We set the timer to check the cookies after 10 minutes and then remove them once they're turning golden brown - this is usually after 12-15 minutes.

Once cooked, we leave the cookies to cool on the trays for about 5 minutes before transferring them to wire racks to cool completely.

We get 14 same sized cookies and one 'odd' based on this recipe (we find it depends how big the egg is as to the size of the 15th cookie)

This really is a simple, naturally gluten free, flourless cookie recipe.  It is also dairy free if suitable dark choc chips are used.  The cookies keep well in an airtight tin for up to a week (but they don't last that long here as Sous Chef J likes them too much).  We think they look and taste fab and hope you do too!

Sunday, 28 September 2014

Mini Muffin Quiches


We made some individual, pastryless quiches... mini sized ones which were 'perfect for picnic food'.  To do this, we decided to use some silicone muffin cases and our 'usual' quiche mix.

We used:-

4 eggs, beaten
3 onions, peeled and finely chopped
250ml yoghurt
Cheese, grated (we used mature farmhouse cheddar)

 These ingredients were enough to make 6 mini quiches and a large pastryless quiche.
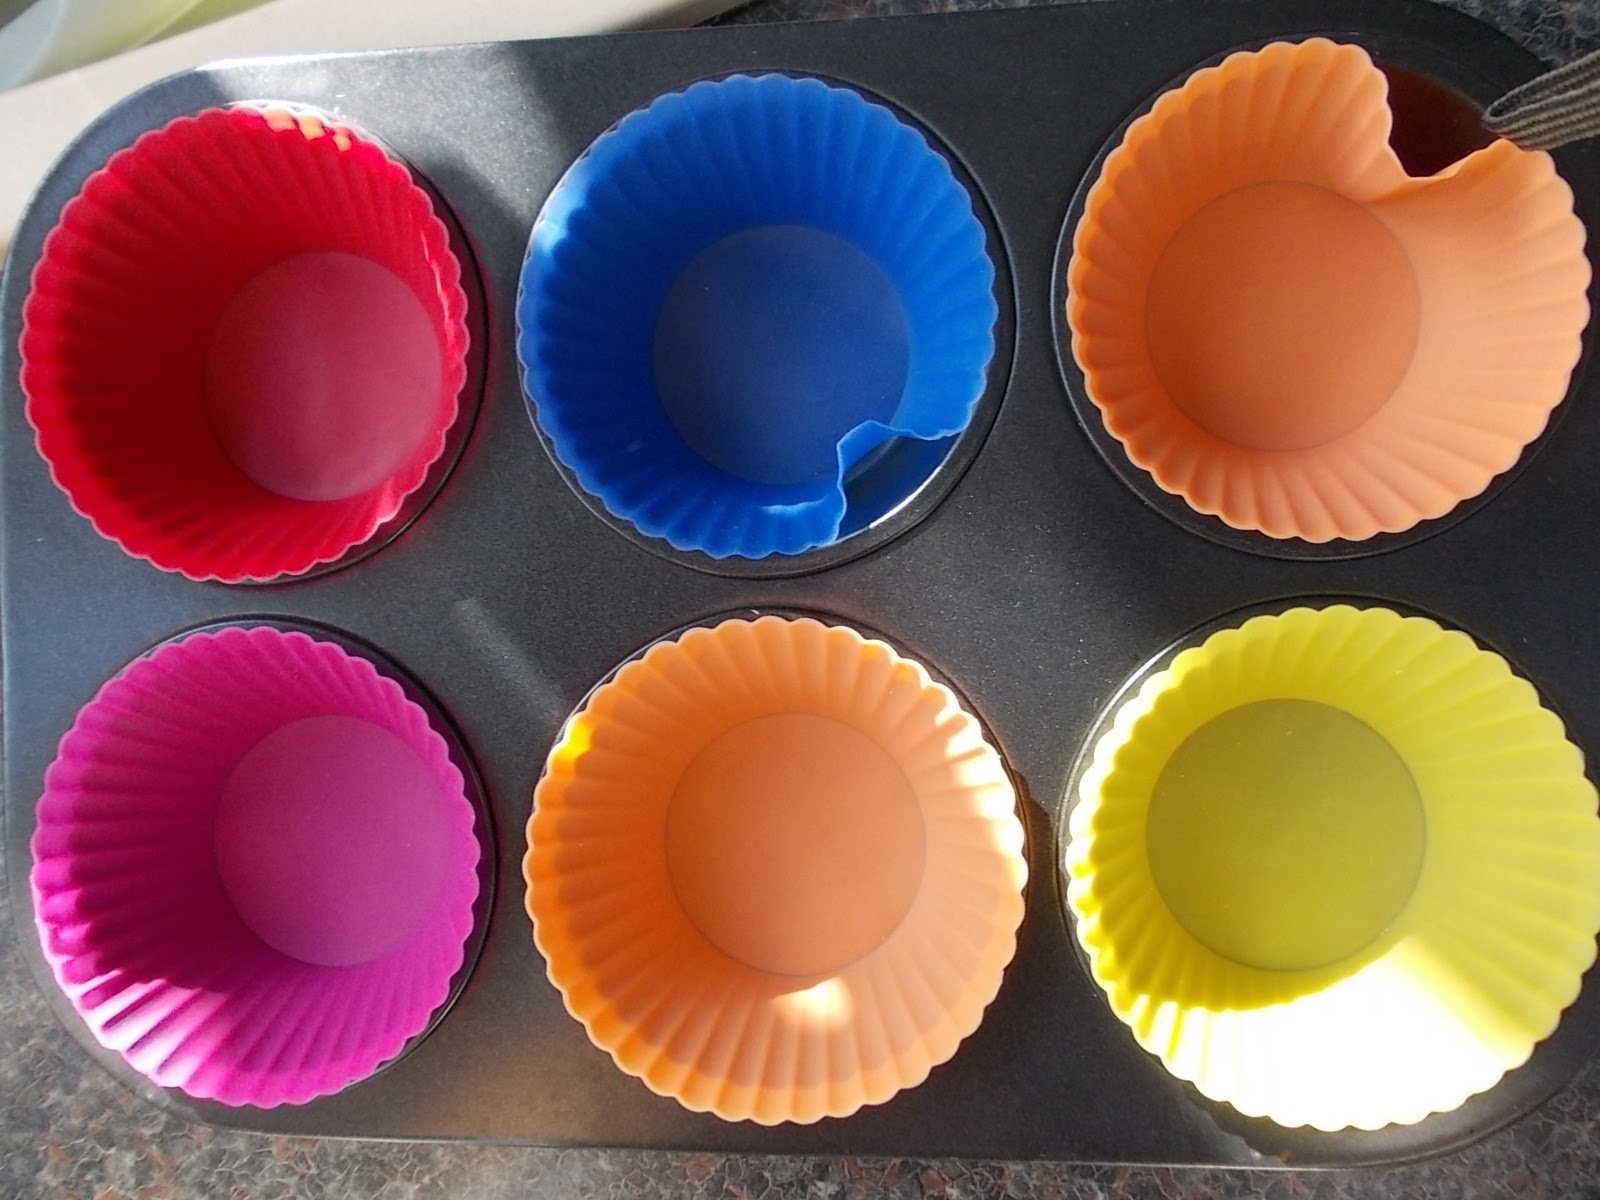
 We used silicone muffin cases to line our muffin tin.

The eggs were lightly beaten...
... and then the yoghurt was added and whisked through.  Next the grated cheese was incorporated and the mix was stirred to make sure it was all combined.
Having chopped the red onions, they were lightly fried untill they started to cook through.


We added a dessertspoonful of the egg, yoghurt and cheese to the bottom of the cases then topped this with some of the lightly cooked onions.

Each case was then topped up with some more of the egg mix before having some sliced yellow cherry tomatoes added.
The quiches were then placed in a pre-heated oven (180ºC) for about 10 minutes after which time we checked them every few minutes and removed them when the tops were just beginning to brown.


The completed quiches looked really appetising and were easy to remove from the cases.


We served ours with spicy potato wedges, sweetcorn and peas.

They can be saved, in an airtight container, in the fridge (or frozen), and make a great picnic/packed lunch item.

Wednesday, 10 October 2012

Very Chocolate-y Tortes

Sous Chef J was feeling a little better the other day so agreed to a speed shop at M&S 'for food only'... and, as we were already in the area (trying to buy some suitable waterproof boots for him for winter) we popped in.

We stocked up on the 'usual' Gluten Free Chicken and don't-mention-the-mushroom crispbakes as well as salmon fishcakes which were on a 2 packs for £3 offer.  Were unable to get the Gluten Free breaded chicken breasts as the shelf was bare.  Cue my usual gripe about "reliability of availability"...

Luckily I remembered a tweet showing a pic of a dessert we hadn't seen before and, in the blink of an eye, Sous Chef J had located 'said pud'.  M&S describe the dessert as a 2 pack of "rich and velvety Belgian chocolate truffle tortes, made to a flourless recipe."

The Truly Chocolate desserts can be eaten hot or cold.  We went for cold as it was quicker!

The dessert is a very chocolatey offering and, although tasty, the portion size defeated Sous Chef J so we saved half for another time.  Each torte is 100g and contains 445kcal.


J attempted to eat as much as he could but was 'exhausted' after his efforts.  Given that he's been finding it hard to rustle up an appetite recently, the chocolate pud worked to tempt his tastebuds.  Plus, it  filled him with quite a few calories without too much hard work on his part.

We think the tortes would be good served warm and will try them that way next time...

Wednesday, 7 December 2011

Chocolate Yule Log

This is our favourite baking activity of the year. When we went onto a Gluten Free regime, we wondered what the "special" cake we'd have at Christmas... luckily a recipe found in a magazine years ago led to the idea of what we would use as the basis.  Thus, we have adapted a chocolate roulade recipe, which is naturally gluten free, into one for a Yule Log.  This is how we make it.

The ingredients used for the roulade are:-
175g plain chocolate
6 large eggs, separated
175g caster sugar

For the filling we use:-
50g plain chocolate
half a 435g can of chestnut puree
100g golden caster sugar
2 Tablespoons Brandy  (optional)
150ml homemade creme fraiche (or use whipped cream)

To decorate, we make an old family recipe for Chocolate Fudge Icing:-
40g soft margarine (we use pure dairy free spread)
3 Tablespoons milk (we use rice or nut milk)
200g icing sugar
25g cocoa powder

We gather and measure out all the ingredients, the fan oven is set to 160ºC, and we line a  swiss roll tin with greaseproof paper ready to take the roulade mix.  First of all, the chocolate is melted (in a glass bowl over some warm water).  Whilst this happens, we whisk the egg yolks with 175g caster sugar until it is pale and creamy.  Then the melted chocolate gets mixed in.

In a large, clean bowl the egg whites are whisked until they form stiff peaks.  A tablespoon of this is then added to the chocolate mix to loosen it a little.  Then the remainder of the egg whites are carefully folded into the chocolate mix.

The mix is poured into the lined swiss roll tin and gently levelled.  It is then baked in the oven for about 20 minutes until spongy to the touch.

When it comes out of the oven, it looks like this. It is cooled in the tin for about 5 minutes during which time, a piece of baking paper is put on the work surface and sprinkled with some sugar.  The roulade is then turned out of the tin onto the baking paper.  The baking paper used in the tin is then carefully peeled from the roulade before covering with another sheet of baking paper which is then covered with a damp tea towel.  It is then left to cool for an hour.

Leaving the roulade to cool, we move onto making the filling.  For this, we melt the chocolate over a pan of boiling water.  Half a can of chestnut puree, sugar and brandy are mixed together and the melted chocolate is added and stirred in.  This is then spread over the roulade.  Next a layer of creme fraiche is spread over.

Then it is time to roll the whole lot.  We roll the long side and use the baking paper to help the process. *

Finally, the chocolate fudge icing is made by melting the margarine and milk in a pan which was allowed to cool slightly.  The milk/margarine is then added to the sifted icing sugar and cocoa powder and mixed well.  Then, the roulade is covered in the icing.  Using a fork, the icing is decorated to resemble the texture of the bark, sprinkled with sifted icing sugar and chilled.

The roulade freezes well iced or un-iced.  We cut ours one third/two thirds and freeze a third when it's made at Christmas for having over New Year.

It is delicious and never lasts long... it's supposed to serve 10 but that depends on how thick the slices are.

* The roulade can be frozen at this stage.  Defrost thoroughly and ice before serving.

Sunday, 13 March 2011

Lunar Cookies

Having seen big cookies on offer in the supermarket, Sous Chef J was inspired to make up a recipe to see if he could have big, Gluten Free cookies too. This is the result of his efforts. It's a simple recipe, with just a few ingredients and can also be sugar free too. He called it Lunar Cookies as it fitted in with the Solar System theme that we were learning about at the time.Here are the ingredients. And the recipe was hastily scrawled on a piece of paper...
Today, we made half the quantity and then split the 'base' mix into two... making big, lunar cookies by decorating with Gluten Free, Dairy Free chocolate beanies and then added a handful of sultanas to the rest to make 6 smaller, sugar free cookies.
The cookies were formed on non-stick baking trays by placing a spoonful on the tray then patting into shape by hand.

The big cookies had the beanies added at this point. The smaller, sultana cookies were placed about 4cm apart. Both sets of cookies were baked on non-stick metal trays.

The cookies were placed in a preheated oven (about 180ºC); the smaller ones were removed after 7 minutes and the large ones were cooked for 10 minutes. Once out of the oven, the cookies were cooled for 10 minutes on the baking tray before being transferred to a rack to cool.
As you can see... the cookies look very inviting and we never have them around for long! However, they do keep well in an airtight container and we have been told by non-GF kids that they think they are yummy too.

This is a great recipe for those on a Gluten Free regime, diabetics wanting to avoid sugar and those who need egg free treats too.