 Part of our outings these days is seeking out suitable establishments to allow us the treat of eating out. Last month, while sous chef J was attending a block placement at Megan Baker House, near Leominster, Herefordshire, it became part of the daily routine to call into Berrington Hall, a National Trust property that is, literally on the doorstep.
On the first day, we asked what Gluten Free options were available and were delighted to be served Lemon Cake. After that, we returned each day... and, as it was so delicious, I asked for the recipe. What a surprise I had when the chef, Annie, came out of the kitchens to talk to me, share her recipe and lend me a recipe book to leaf through whilst I was there! We had a lovely chat about all things Gluten Free and she even gave my husband a 'new recipe' scone to try... he loved it.
So, here is Annie's Lemon Cake recipe... and the record of how it was making it for the first time.
8oz softened butter (we used unsalted)
8oz caster sugar
8oz ground almonds
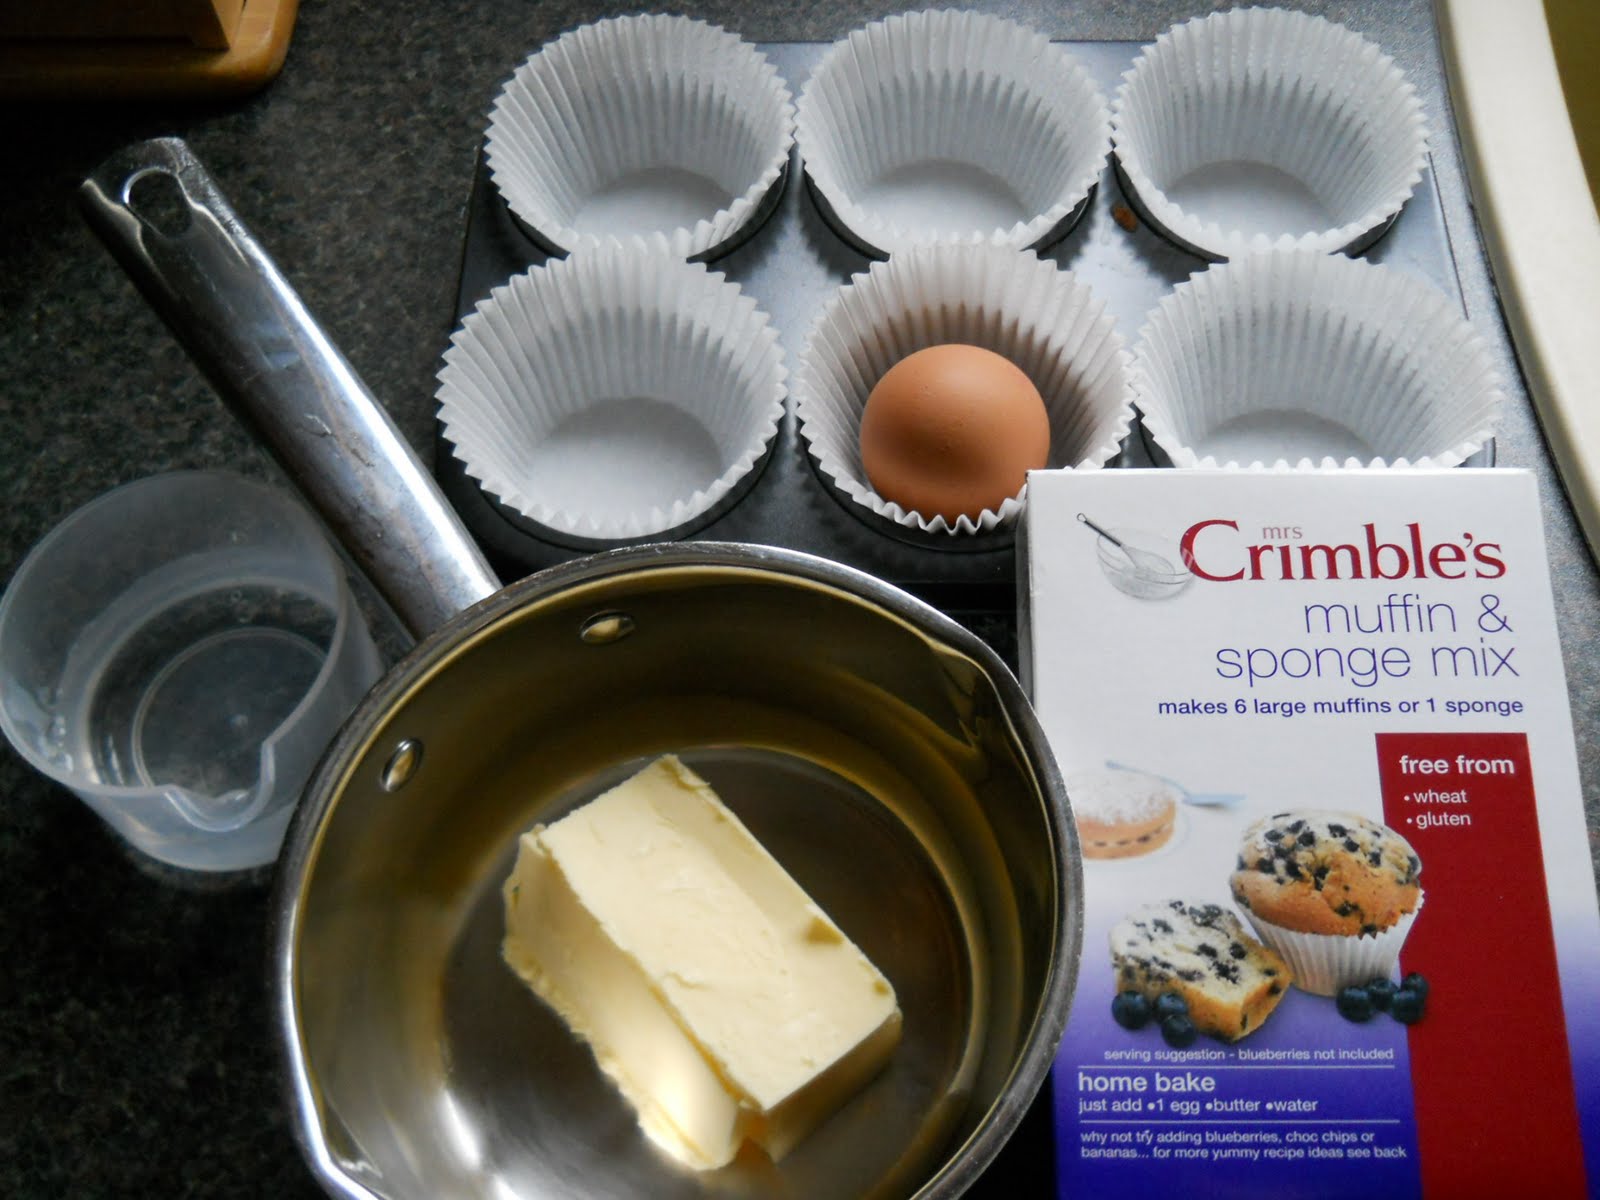
3 large eggs
2 lemons - juice and zest
4oz polenta
1 teaspoon Gluten Free baking powder (we used Dove's Farm)
For the topping, make a thin syrup of the juice and zest of 2 lemons (we added about 3 tablespoons of sugar to this to make our syrup, but this is something that needs to be done 'to taste' depending on the size of the lemons).
 First of all the butter and sugar were creamed. Then the eggs, ground almonds, lemon juice and zest, polenta and baking powder were added. This was then thoroughly combined. By hand. It is quite a firm mixture - and sous chef J was happy to direct proceedings rather than do the hands on work.
 Having combined all the ingredients by hand, the mix was shared between a lined 20cm (8") round tin and 6 muffin cases. The recipe states a 9" square tin, but we don't have the resources of a National Trust property's kitchen at our disposal so had to do some maths to work out similar volume/area using the bakeware we do have!
 The cakes were placed in a preheated oven (150ºC fan, 165ºC non fan). The cakes looked like this once they had been baked for about 15 minutes - obviously, this is longer for the large, 20cm (8") cake... and this one needs to be firm to the touch before removing from the oven (takes about 40 minutes).
 Once the cakes were baked, the lemon syrup mix was drizzled over them. They were then left to cool fully in the tins.
 The final result...
 The verdict is that they are yummy... although not quite as good looking as Annie's originals!
Annie told me they keep well... but you'll have to verify that for yourselves; they're eaten too fast here to check that out.
 When we first started on the GAPS dietary regime (which we follow to assist Chef J with his Dyspraxia and leaky gut), no sugar was allowed. So, we researched ancient recipes using honey as the sweetening agent. A few recipes seemed to use honey and butter to make a type of caramel/toffee and they also used nuts. Thus, one day we tried out a toffee, almond mix and our Almond Crunch was with us!
It has 3 simple ingredients. Butter, honey and flaked almonds. Initially, the crunch was literally thrown together but, to simplify things a bit, we finally worked out amounts of each ingredient.
To have a go at our Almond Crunch recipe, you will need 50g Butter, 2 Tablespoons Honey and about 50g Flaked Almonds.
First of all the honey and butter are melted over a low heat.  Then the heat is increased (you need to watch the mixture as it can overcook easily) until it starts to bubble and turn a golden brown.
  At this point, add the flaked almonds and combine well.
  Stir the mix over a moderate heat for about 2 minutes (we use silicone implements) and then turn out onto a non-stick baking sheet (or silicone paper) to cool.
  There you have it... Almond Crunch (or "Not Dime Bar" as it's sometimes known here!)
It's a good idea to keep the cooling tray well away from little (and big) hands as the toffee retains its heat for quite a while.
 Having seen big cookies on offer in the supermarket, Sous Chef J was inspired to make up a recipe to see if he could have big, Gluten Free cookies too. This is the result of his efforts. It's a simple recipe, with just a few ingredients and can also be sugar free too. He called it Lunar Cookies as it fitted in with the Solar System theme that we were learning about at the time.
 Here are the ingredients. And the recipe was hastily scrawled on a piece of paper...
 Today, we made half the quantity and then split the 'base' mix into two... making big, lunar cookies by decorating with Gluten Free, Dairy Free chocolate beanies and then added a handful of sultanas to the rest to make 6 smaller, sugar free cookies.
 The cookies were formed on non-stick baking trays by placing a spoonful on the tray then patting into shape by hand.

The big cookies had the beanies added at this point. The smaller, sultana cookies were placed about 4cm apart. Both sets of cookies were baked on non-stick metal trays.
The cookies were placed in a preheated oven (about 180ºC); the smaller ones were removed after 7 minutes and the large ones were cooked for 10 minutes. Once out of the oven, the cookies were cooled for 10 minutes on the baking tray before being transferred to a rack to cool.
 As you can see... the cookies look very inviting and we never have them around for long! However, they do keep well in an airtight container and we have been told by non-GF kids that they think they are yummy too.
This is a great recipe for those on a Gluten Free regime, diabetics wanting to avoid sugar and those who need egg free treats too.
 This is a simple, one pot dish that sous chef J approves of. He assists with the chopping and also likes to 'sample' the carrots before inclusion!
 Mix well and cover and cook for 5 or so minutes. The mix should look something like this by now....
  Finally, add the frozen peas, cover and cook for another 4-5 minutes. Serve.
  Another way we use this mix is to layer it in a casserole, prior to adding the peas, with pre-cooked sliced potatoes. Cover the top layer of potato in grated cheese, oven cook until piping hot throughout. Serve with boiled peas.


